
There’s something incredibly nostalgic about Lunch Lady Peanut Butter Bars. They taste like something you’d find wrapped in wax paper on a school dessert tray, simple but unforgettable. The combination of creamy peanut butter, buttery graham cracker base, and smooth chocolate topping creates a dessert that feels both comforting and indulgent at the same time.
I love how quickly these come together. No oven, no complicated steps, just a bowl, a pan, and a little patience while they chill. The hardest part is waiting for them to set in the fridge because the smell of melted chocolate and peanut butter is honestly irresistible.
Why These Lunch Lady Peanut Butter Bars Are So Popular
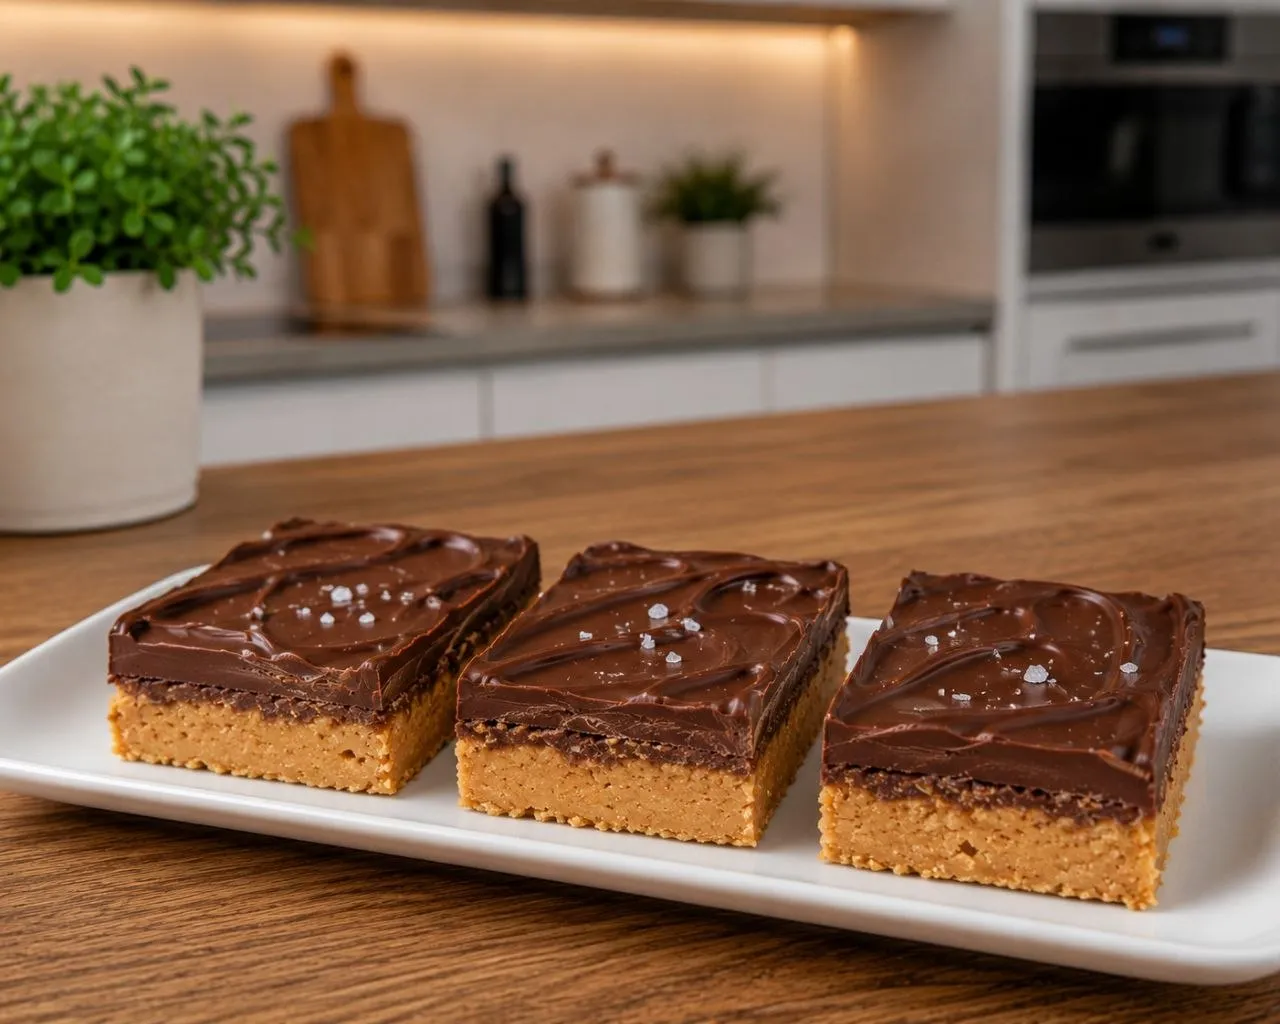
What makes these bars special is the texture contrast. The base is soft but slightly crumbly from the graham crackers, the peanut butter layer is rich and smooth, and the chocolate topping adds a firm snap when you bite into it. It’s sweet, salty, and slightly chewy in the best possible way.
They also travel well and store beautifully, which makes them perfect for potlucks, lunchboxes, or quick dessert cravings during the week.
Ingredients You’ll Need
- 3/4 cup butter, melted
- 2 cups confectioners sugar
- 1.5 cups graham crackers, crushed
- 1 cup creamy peanut butter
- 1.5 cups semi-sweet chocolate chips
Simple pantry ingredients, but when they come together, they create something that tastes much more special than you’d expect.
Step-by-Step Instructions
Prepare your pan
Lightly spray a 9×9 baking pan with cooking spray or line it with parchment paper. I prefer parchment because it makes lifting and slicing the bars much easier later.
Make the peanut butter base
In a large mixing bowl, combine the confectioners sugar, crushed graham crackers, and peanut butter. Stir until the mixture starts to come together, then pour in the melted butter. Mix everything thoroughly until you get a thick, slightly sticky dough-like consistency. It should hold together when pressed.
Press into the pan
Transfer the mixture into your prepared pan and press it down firmly and evenly. I like to use the back of a spoon or even slightly damp hands to get a smooth, compact layer. The firmer you press it, the better the bars will hold their shape later.
Melt and spread the chocolate
Place the chocolate chips in a microwave-safe bowl. Heat in short intervals, stirring between each one until the chocolate is fully melted and smooth. Be careful not to overheat it or it may seize. Once silky, pour it over the peanut butter layer and spread it evenly to the edges.
Chill until set
Place the pan in the refrigerator and let it chill until firm. This usually takes a couple of hours, but I find overnight gives the best texture. Once set, let it sit at room temperature for a few minutes before cutting so the chocolate doesn’t crack too harshly.
Texture, Flavor, and What to Expect
These bars are rich, sweet, and very satisfying. The base is soft but structured, the peanut butter layer melts slightly in your mouth, and the chocolate topping gives a firm bite before it softens. The aroma alone while mixing peanut butter and melted butter is enough to make you want to skip the waiting step.
I always notice how the chocolate develops a slight shine after setting, which makes them look bakery-made even though they’re incredibly simple.
Helpful Tips for Perfect Peanut Butter Bars
Make sure the butter is fully melted but not hot when mixing, otherwise the sugar can dissolve too much and affect texture.
Press the base firmly so the bars hold together when sliced.
Use good-quality chocolate chips for a smoother, richer topping.
Let the bars chill completely before cutting or they may fall apart slightly.
Variations You Can Try
You can easily customize these bars depending on your taste. Try using crunchy peanut butter if you want added texture. Swap semi-sweet chocolate for milk chocolate if you prefer a sweeter finish. You can even sprinkle a little sea salt on top of the chocolate layer for a sweet-salty contrast.
For a fun twist, add crushed pretzels into the base for extra crunch or drizzle white chocolate over the top once set.
Serving and Storage
These bars are best served chilled or slightly softened at room temperature. They’re rich, so small squares go a long way.
Store them in an airtight container in the fridge for up to a week. You can also freeze them for longer storage and simply let them thaw for a few minutes before eating.
Nutrition Snapshot
These bars are definitely a treat, rich in energy from peanut butter, butter, and chocolate. They’re satisfying in small portions and perfect when you need something sweet and filling.
Lunch Lady Peanut Butter Bars FAQ
Can I make these without graham crackers?
Yes, but the texture will change. You can replace them with crushed digestive biscuits or similar cookies.
Do I have to refrigerate them?
Yes, chilling is essential for them to set properly and hold their shape.
Can I use natural peanut butter?
You can, but make sure it’s well stirred and not too oily, or the texture may become softer.
Why is my chocolate cracking when I cut it?
It’s likely too cold. Let the bars sit at room temperature for a few minutes before slicing.
Can I double the recipe?
Yes, just use a larger pan and slightly increase chilling time.
These Lunch Lady Peanut Butter Bars are one of those simple recipes that never disappoint. They’re quick, nostalgic, and always disappear faster than you expect, especially when shared.
