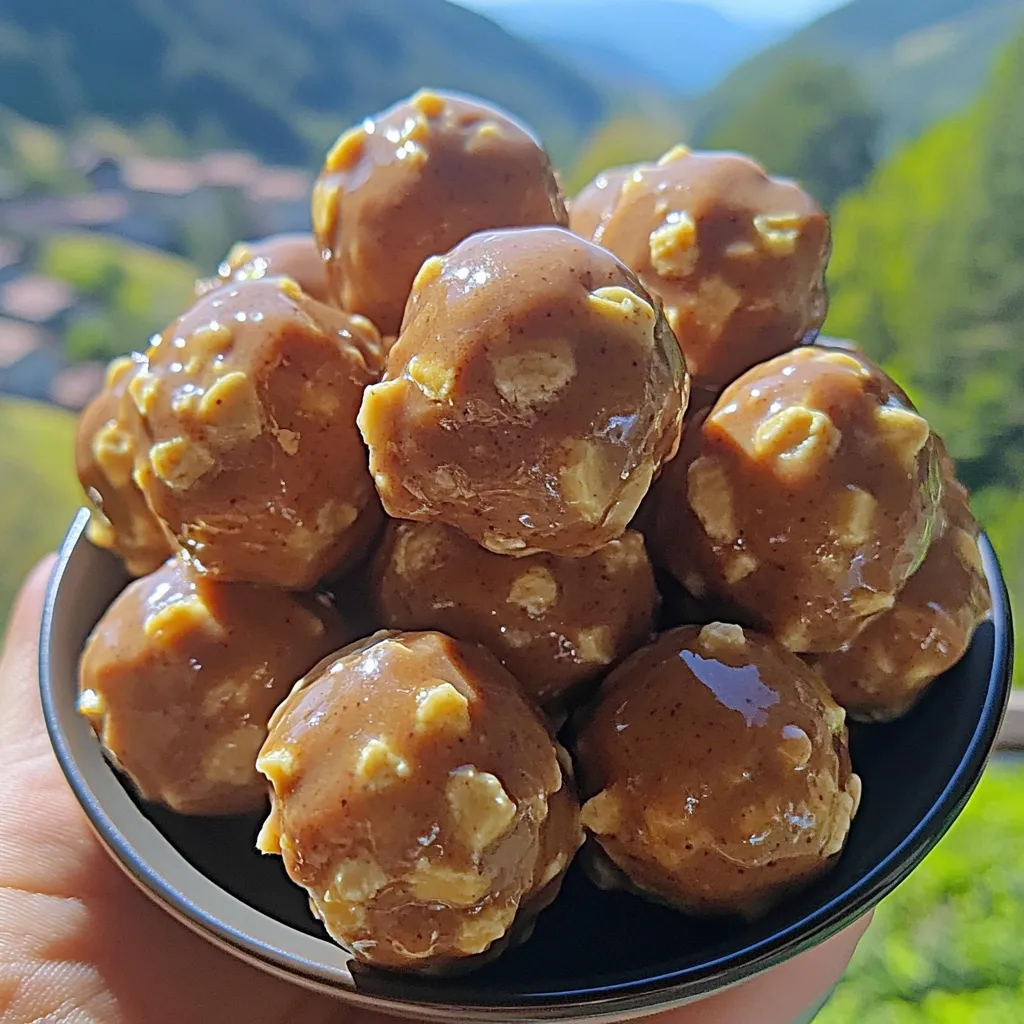
A Sweet Bite of Nostalgia – The Charm of Homemade Butterfinger Balls
There’s something so satisfying about homemade candy bites—they’re simple, fun, and taste even better than anything you can buy in a wrapper. Butterfinger Balls have that perfect balance of peanut butter creaminess, crunchy graham texture, and the unmistakable Butterfinger flavor that reminds me of childhood movie nights and holiday cookie trays.
I love how easy they are to make—you don’t even need to turn on the oven. They’re perfect for gifting, snacking, or bringing to parties when you want something bite-sized but irresistible. And honestly, the hardest part is waiting for the chocolate to set!
What You’ll Need to Make These Crunchy Peanut Butter Delights
You only need a handful of pantry staples and a few crushed candy bars to make this magic happen. It’s one of those recipes that turns simple ingredients into something unforgettable.
Ingredients:
- 4 tablespoons softened butter
- 1 cup peanut butter (avoid natural varieties)
- 1 teaspoon vanilla extract
- 1 cup powdered sugar
- ¾ cup graham cracker crumbs
- ½ cup crushed Butterfinger candy bars
- 8 ounces chocolate bark or chocolate chips
Optional Garnishes:
- Extra crushed Butterfinger
- Festive sprinkles
- Coarse sea salt
Mixing the Perfect Peanut Butter Base
Start by combining the softened butter and peanut butter in a large mixing bowl. Beat the mixture with a hand mixer until smooth and creamy—this should only take a minute or two. The texture should look like fluffy frosting and smell irresistibly nutty.
Next, blend in the vanilla extract for a touch of warmth, then gradually add the powdered sugar while mixing on low speed. You may need to stop once or twice to scrape down the sides of the bowl. The dough should come together easily but still feel soft.
Adding the Crunch – Graham and Butterfinger Magic
Fold in the graham cracker crumbs and the crushed Butterfinger pieces. This is where the fun starts—the crumbs give the mixture structure, while the candy bits add a surprising crunch in every bite. If the dough feels too sticky, chill it for a few minutes before rolling.
You’ll notice the aroma of peanut butter and caramel candy—it’s the kind of smell that makes it hard not to sneak a taste!
Shaping and Freezing the Dough Balls
Line a baking sheet with parchment paper. Scoop about one tablespoon of the dough at a time and roll it between your palms into smooth, bite-sized balls. I like making them about the size of a truffle—just enough for one perfect bite.
Arrange them evenly on the baking sheet and freeze until firm. This step helps them hold their shape when you dip them in chocolate later.
Coating in Chocolate – The Final Touch
Place your chocolate bark or chips in a microwave-safe bowl and melt it in short 30-second bursts at 50% power, stirring between each round until it’s smooth and glossy. Avoid overheating—you want melted chocolate, not scorched bits.
Using a fork, dip each frozen ball into the melted chocolate, letting the excess drip off before setting it back on the parchment paper. This part can get a little messy, but that’s half the fun.
Toppings and Texture – Make Them Your Own
Before the chocolate hardens, sprinkle on your chosen toppings. Extra crushed Butterfinger adds more crunch, sprinkles make them festive, and a pinch of sea salt gives a beautiful contrast to the sweetness.
Once topped, let the chocolate set completely. You can leave them at room temperature or pop them in the fridge if you’re impatient like me.
Serving and Storing Your Butterfinger Balls
These treats are at their best when the chocolate is firm and the centers are slightly chilled but still soft when you bite in. Arrange them in mini paper cups or stack them on a pretty dessert plate for serving.
Store leftovers (if there are any!) in an airtight container. They keep well in the fridge for about two weeks, or you can freeze them for up to a month. Just thaw slightly before enjoying.
Variations to Try – Play with Flavors and Coatings
Once you’ve mastered the base, it’s easy to experiment. Try swapping Butterfinger for crushed Reese’s, Kit Kats, or even Oreos for a completely different twist. You can also drizzle white chocolate over the tops for a layered effect or roll the balls in cocoa powder before dipping for extra richness.
Nutrition Snapshot – A Little Indulgence Goes a Long Way
These aren’t health food, and that’s exactly the point—they’re a fun indulgence. Each ball delivers a mix of protein from the peanut butter and energy from the sugar, so one or two bites are usually all you need to satisfy that sweet craving.
Sweet Questions Answered – Your Butterfinger Ball FAQ Corner
Can I use natural peanut butter?
I don’t recommend it—the oils separate and make the mixture too soft. Stick with regular creamy peanut butter for the best texture.
Why did my dough turn too sticky?
That usually means your butter was too soft or the peanut butter too runny. Just add a few more graham crumbs or chill the mixture for 10 minutes.
What’s the best way to crush the Butterfingers?
Place them in a zip-top bag and gently tap with a rolling pin. You want small chunks, not dust.
Can I make these ahead for a party?
Absolutely. Make them a few days in advance and store them in the fridge. They actually taste even better after sitting overnight.
Can I use almond butter instead?
Yes, though the flavor will be milder and slightly less sweet. Still delicious if you prefer it that way!
Butterfinger Balls are proof that a little creativity and a few ingredients can turn into something unforgettable. They’re rich, crunchy, creamy, and just messy enough to remind you that homemade is always worth it.


