
Why These Cheesy Onion Ring Chips Are Completely Addictive
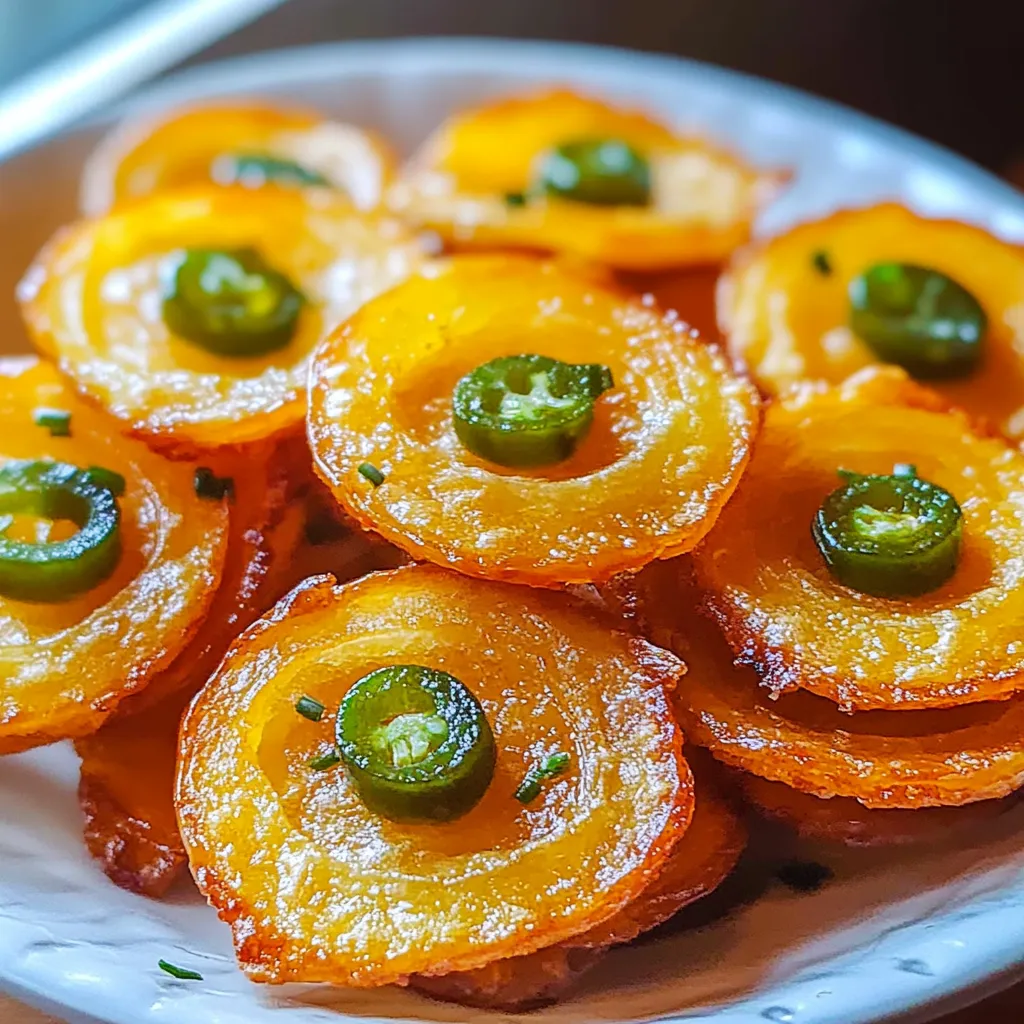
There’s something magical about the way onions, cheese, and heat come together — that irresistible combination of sweet, savory, and crispy. These Cheesy Onion Ring Chips are the perfect example. They’re everything you want in a snack: crunchy edges, gooey melted cheese in the center, and a smoky, garlicky aroma that fills your kitchen before they’re even out of the oven.
What I love most is how simple they are to make. You only need a few everyday ingredients, and you can customize them however you like — spicy, smoky, extra cheesy, or with a little bacon for a salty kick. They come out golden and bubbly, perfect for movie nights, game days, or when you just need a quick comfort snack that feels a little extra special.
You’ll notice the texture shift as they cool — the cheese firms up just enough to make them easy to pick up, while the onions stay soft and flavorful inside their crispy edges.
Ingredients You’ll Need for These Irresistible Onion Ring Chips
You don’t need a long list of ingredients to create something delicious. The magic happens in how they come together — sweet onions, sharp cheese, and just the right blend of seasoning.
Ingredients:
- 2 large sweet onions, sliced into ¼-inch rings
- 1 cup shredded cheddar cheese (or mozzarella, pepper jack, or a blend)
- 1 teaspoon garlic powder
- ½ teaspoon smoked paprika
- ¼ teaspoon black pepper
- ¼ teaspoon salt
- ¼ cup panko breadcrumbs (optional, for extra crunch)
- 2 tablespoons cooked bacon bits (optional)
- 1 fresh jalapeño, thinly sliced (optional, for heat)
- 1 teaspoon hot sauce (optional)
I often mix cheddar with mozzarella — the cheddar gives that sharp, cheesy punch, while mozzarella melts beautifully and stretches into those picture-perfect cheese pulls.
How to Prep the Onions for the Perfect Chip Texture
Start by slicing your onions into ¼-inch rounds. The thickness really matters here — too thin, and they burn before the cheese melts; too thick, and they’ll take too long to cook through.
Gently separate the rings, keeping the larger ones intact for easier filling. I usually pat them dry with a paper towel — removing a bit of surface moisture helps the cheese stick better and crisp up evenly.
If you’re using sweet onions like Vidalia or yellow onions, you’ll get that lovely balance of sweetness and savoriness once baked. The natural sugars caramelize slightly, adding another layer of flavor that pairs perfectly with the melted cheese.
Building the Perfect Cheesy Onion Rings
Line your baking sheet with parchment paper (or the air fryer basket with parchment rounds) to prevent sticking. Arrange the onion rings flat in a single layer — you want them to hold their shape while baking.
Next, fill the centers with shredded cheese, pressing it gently inside each ring so it doesn’t spill over too much. A little overflow is fine — those golden cheese edges that crisp on the parchment are honestly my favorite part.
Sprinkle garlic powder, smoked paprika, salt, and pepper evenly over the top. The paprika gives a subtle smoky note that makes the flavor deeper and more satisfying. If you want extra crunch, add a pinch of panko breadcrumbs on top.
Feeling indulgent? Scatter some bacon bits or jalapeño slices over the cheese. They’ll bake right into the surface, adding bursts of flavor and a bit of color contrast.
Baking or Air Frying – Getting That Perfect Golden Crisp
If you’re using the oven, bake at 400°F (200°C) for about 10–15 minutes, or until the cheese is bubbling and golden around the edges. Every oven’s a little different, so keep an eye on them near the end — they can go from perfect to overdone quickly.
For an air fryer version, set it to 375°F (190°C) and cook for 6–8 minutes, checking halfway through. The air fryer gives them a slightly drier, crispier texture, which I love when serving them as “chips.”
The moment they come out, the smell is unbelievable — toasted cheese, sweet roasted onions, and that garlicky warmth that makes you want to eat them straight off the tray.
Letting Them Cool (The Hardest Part)
Once they’re out of the oven, resist the urge to grab them right away. Let them cool for a few minutes so the cheese sets and the edges crisp up fully. This short resting time transforms them from melty to perfectly hand-held snacks.
You’ll notice how the centers stay soft and cheesy, while the edges form a thin, crunchy ring. It’s the perfect contrast — just what makes these so addictive.
Dips and Serving Ideas
These chips are fantastic on their own, but they truly shine with the right dip. I like to serve them with a cool ranch dressing, a spicy sriracha mayo, or a creamy garlic yogurt dip for balance.
If you’re serving them at a party, pair them with a few options — something creamy, something spicy, and something tangy. They disappear fast, so it’s best to make a double batch.
You can also crumble a few on top of salads or burgers for a cheesy crunch — it’s a fun twist that adds flavor and texture.
Flavor Variations and Creative Twists
Once you’ve mastered the basic version, there are endless ways to make these your own:
- Tex-Mex Style: Add taco seasoning to the cheese mix and serve with guacamole.
- BBQ Bacon: Mix in chopped bacon and a drizzle of BBQ sauce before baking.
- Spicy Jalapeño Popper Style: Use pepper jack cheese, sliced jalapeños, and a little hot sauce.
- Italian-Inspired: Add oregano and Parmesan to the mix, and serve with marinara sauce.
You can even switch up the onions — try red onions for a sharper bite or shallots for a milder, more refined flavor.
How to Keep Them Crispy and Fresh
Cheesy onion chips are best enjoyed fresh out of the oven — that’s when they’re at their crispiest and most flavorful. But if you have leftovers (rare, but it happens), store them in an airtight container in the fridge for up to two days.
To reheat, pop them back into the oven or air fryer for a few minutes. Avoid the microwave — it softens the cheese and makes them rubbery.
Frequently Asked Questions
Can I make these ahead of time?
Yes! You can prep the onions and fill them with cheese in advance. Keep them covered in the fridge and bake right before serving.
Can I use a different cheese?
Absolutely. Try Monterey Jack, Gouda, or even a spicy blend — anything that melts well will work beautifully.
How do I make them gluten-free?
Just skip the panko breadcrumbs or use a gluten-free version. Everything else in the recipe is naturally gluten-free.
Do they work in the air fryer?
Yes, and they’re amazing. The air fryer makes them even crispier with less oil.
What’s the best dip for them?
Ranch, chipotle mayo, garlic aioli, or even ketchup if you’re keeping it classic — there’s really no wrong answer.
Crispy, cheesy, and full of flavor — these Cheesy Onion Ring Chips are proof that simple ingredients can turn into something truly special. Once you make them, you’ll find yourself craving that golden crunch and melty middle again and again.
