
A Cozy Dessert Inspired by Classic Cinnamon Rolls
Cinnamon rolls have a way of making any kitchen feel warm and welcoming, but let’s be honest—they can take time. These Cinnamon Roll Bliss Bars are my answer to those cravings when I want the flavor and comfort of cinnamon rolls without dealing with yeast, rising, or rolling dough.
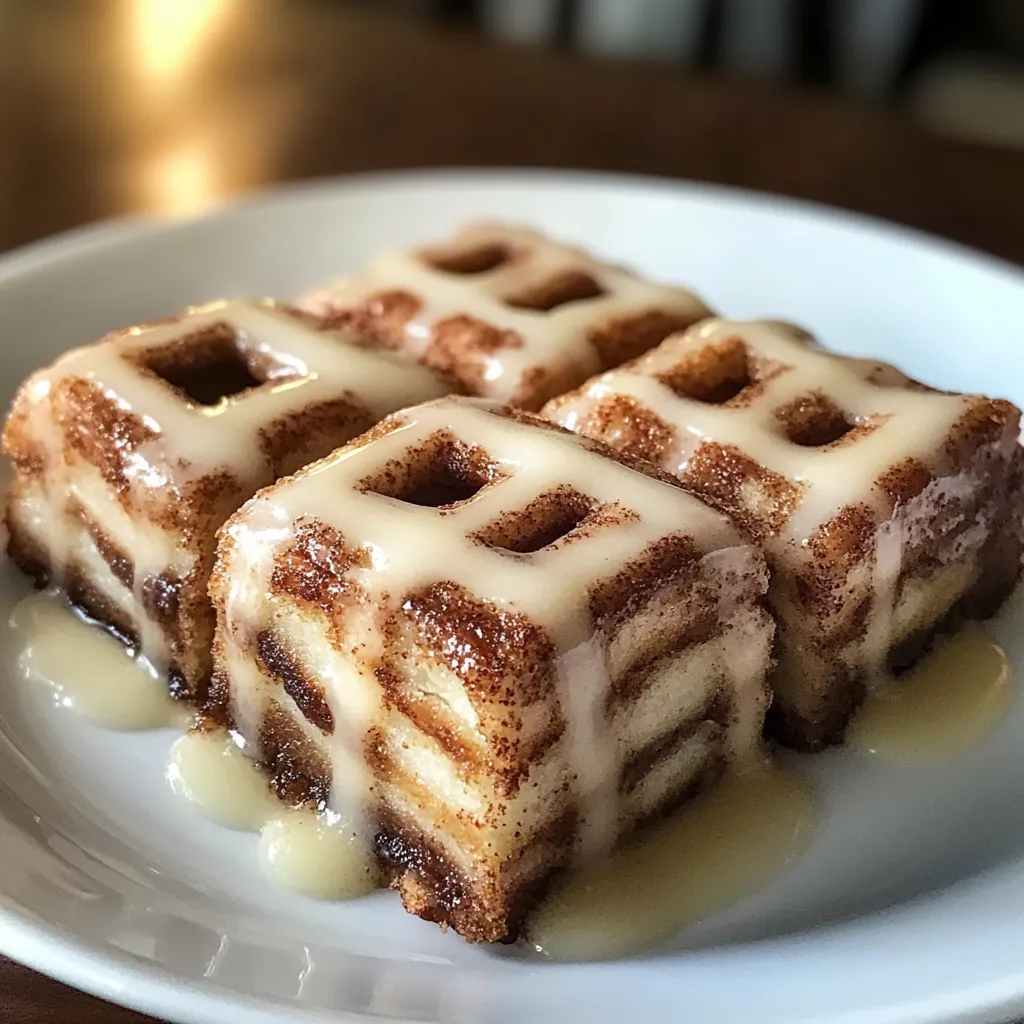
The first time I made these, the smell alone convinced me they were going to be good. That sweet cinnamon aroma hits almost immediately in the oven, and it feels like a quiet Sunday morning even if you’re baking on a busy weekday. These bars are soft, rich, and finished with a simple glaze that melts right into the top.
Ingredients You’ll Need for Cinnamon Roll Bliss Bars
This recipe uses everyday baking staples, which is part of why I come back to it so often. Nothing complicated, just good ingredients working together.
Ingredients:
- 2 cups all-purpose flour
- 1 cup brown sugar
- 1/2 cup granulated sugar
- 1/2 cup unsalted butter, softened
- 1/2 cup sour cream
- 2 large eggs
- 1 tablespoon vanilla extract
- 1 tablespoon ground cinnamon
- 1 teaspoon baking powder
- 1/2 teaspoon baking soda
- 1/4 teaspoon salt
- 1 cup powdered sugar
- 2 tablespoons milk
- 1 teaspoon vanilla extract
Preparing the Pan and Oven for Even Baking
Start by preheating your oven to 350°F (175°C). Grease a 9×13-inch baking pan well, making sure to get into the corners. I sometimes line the pan with parchment paper as well, leaving a little overhang—it makes lifting the bars out later much easier.
Having everything ready before you mix the batter keeps the process smooth and stress-free.
Mixing the Batter for Soft, Tender Bars
In a large bowl, cream together the softened butter, brown sugar, and granulated sugar until smooth and fluffy. This step matters more than it seems—it’s what gives the bars that tender, almost cake-like texture.
Add the eggs one at a time, mixing well after each. Then stir in the sour cream and vanilla extract. The sour cream might seem unusual, but it’s the secret to moist, rich bars that don’t dry out. You’ll notice the batter becomes creamy and slightly thick at this stage.
Bringing the Dry Ingredients Together
In a separate bowl, whisk together the flour, baking powder, baking soda, cinnamon, and salt. Whisking helps distribute everything evenly, especially the cinnamon, which you want in every bite.
Gradually add the dry ingredients to the wet mixture, mixing just until combined. Don’t overmix here—I usually stop as soon as there are no visible streaks of flour. The batter should be thick but spreadable.
Creating That Cinnamon Roll Effect Without Rolling
Spread the batter evenly into your prepared baking pan, smoothing the top with a spatula. In a small bowl, mix a bit of cinnamon and sugar (you can use extra from your pantry) and sprinkle it evenly over the batter.
This step mimics that classic cinnamon roll swirl flavor without any actual rolling. As the bars bake, the cinnamon sugar sinks slightly into the top layer, creating pockets of sweet spice throughout.
Baking Until Perfectly Set
Place the pan in the preheated oven and bake until a toothpick inserted into the center comes out clean, usually about 25–30 minutes. The top should look lightly golden, and the kitchen will smell incredible.
Let the bars cool completely in the pan. I know it’s tempting to frost them warm, but waiting helps the glaze set beautifully instead of melting right off.
Frosting the Bars with a Simple Vanilla Glaze
In a small bowl, whisk together the powdered sugar, milk, and vanilla extract until smooth. The glaze should be thick but pourable—add a drop of milk if needed.
Spread the frosting evenly over the cooled bars. I like using an offset spatula, but the back of a spoon works just fine. The glaze settles into the surface and adds that final cinnamon-roll-style finish.
Serving and Storing Cinnamon Roll Bliss Bars
Once frosted, slice the bars into squares and serve. They’re perfect with coffee, tea, or a cold glass of milk. The texture stays soft for days, which makes them ideal for make-ahead desserts.
Store leftovers in an airtight container at room temperature for up to three days, or refrigerate them if your kitchen runs warm. You can also freeze unfrosted bars and glaze them after thawing.
Easy Variations to Make Them Your Own
If you like a little crunch, sprinkle chopped pecans or walnuts over the cinnamon sugar layer before baking. For extra indulgence, add a swirl of cream cheese frosting instead of the vanilla glaze.
Sometimes I add a pinch of nutmeg to the batter for extra warmth—it’s subtle but cozy.
Baking Tips for Consistently Great Results
- Make sure your butter is truly softened, not melted.
- Don’t overbake; dry bars lose that cinnamon roll feel.
- Let the bars cool fully before frosting for clean slices.
These small details make a big difference.
Cinnamon Roll Bliss Bars FAQ
Can I use Greek yogurt instead of sour cream?
Yes, full-fat Greek yogurt works well and gives a similar texture.
Do these taste like real cinnamon rolls?
They don’t replace a yeast roll, but the flavor is surprisingly close and much faster to make.
Can I double the glaze?
Absolutely. If you love a thick frosting layer, doubling it is never a bad idea.
Are these better the next day?
Honestly, yes. The flavors settle overnight, and the bars become even softer and richer.
These Cinnamon Roll Bliss Bars are one of those recipes I come back to again and again. They’re simple, comforting, and always disappear faster than I expect.
