
A Campfire Classic Turned Into a Cozy Baking Project
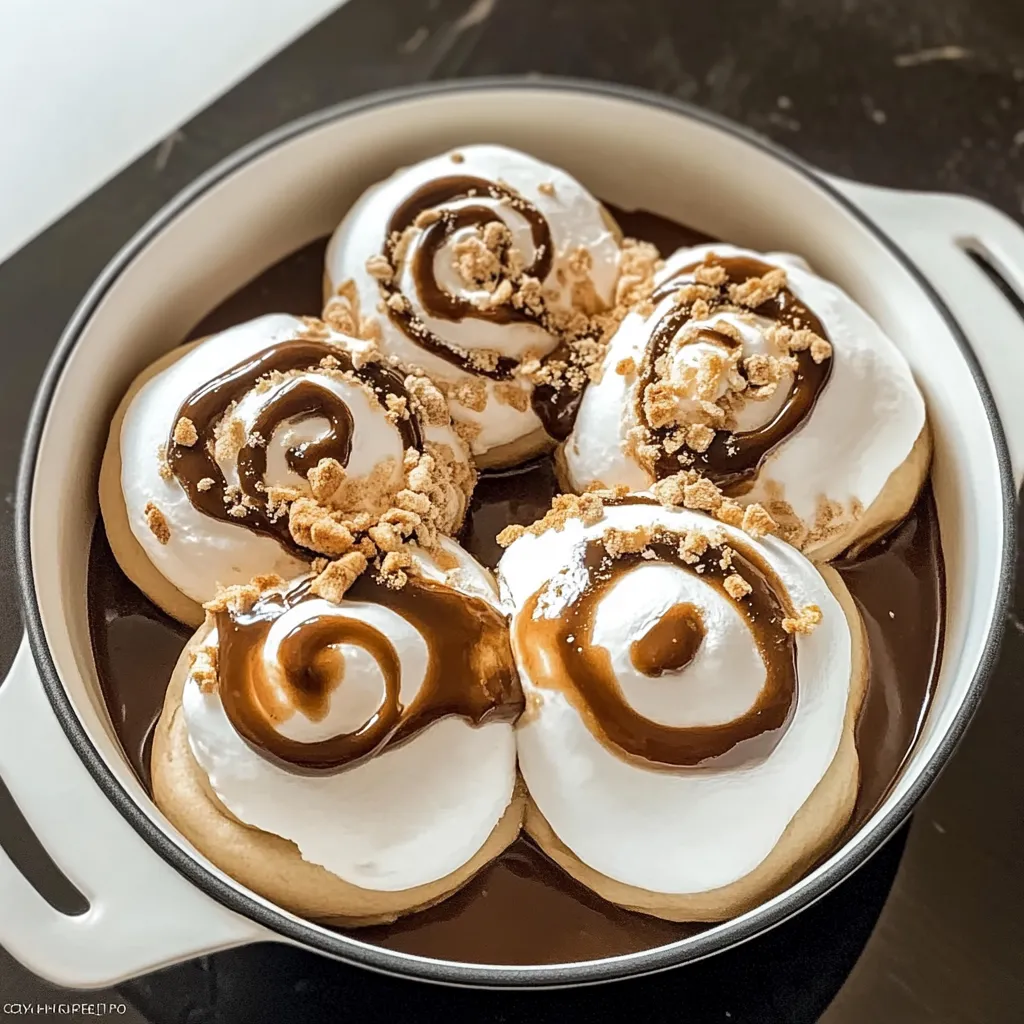
Gooey S’mores Rolls are what happen when your favorite campfire treat meets a warm, buttery homemade roll. Every bite has that familiar s’mores flavor—rich chocolate, sweet graham cracker crumbs, and fluffy toasted marshmallow—but wrapped inside soft, pillowy dough.
The first time I made these, the smell alone was enough to stop everyone in the house mid-conversation. There’s something about yeast dough baking with chocolate that feels extra comforting, especially on a slow afternoon. These rolls are indulgent, yes, but they’re also playful and nostalgic in the best way.
Ingredients You’ll Need for Gooey S’mores Rolls
This recipe looks long at first glance, but each component plays an important role. Once everything is laid out, it comes together smoothly.
For the dough:
- 1 cup milk, lukewarm
- 1/4 cup water, lukewarm
- 2 1/4 teaspoons instant yeast
- 1/4 cup granulated sugar
- 3 3/4 cups all-purpose flour
- 4 tablespoons unsalted butter, melted and divided
- 1 teaspoon salt
For the chocolate graham filling:
- 1/8 cup unsweetened cocoa powder
- 1/8 cup heavy whipping cream
- 1/3 cup semi-sweet chocolate chips
- 1/4 cup granulated sugar
- 1 tablespoon melted butter
- 1/4 cup graham cracker crumbs
- A pinch of salt
- 1/4 teaspoon vanilla extract
For the marshmallow meringue topping:
- 2 large egg whites, room temperature
- 1/2 cup granulated sugar
- 1/8 teaspoon cream of tartar
- 1/8 teaspoon salt
- 1/4 teaspoon vanilla extract
Mixing and Resting the Dough for Soft, Fluffy Rolls
In the bowl of a stand mixer, combine the lukewarm milk, water, yeast, sugar, flour, melted butter, and salt. Mix until everything comes together into a shaggy dough. Once it starts pulling away from the sides of the bowl, knead until smooth and elastic—about 6 to 8 minutes.
The dough should feel soft but not sticky. If you press it lightly with your finger, it should slowly spring back. Cover the bowl and let the dough rest. Even a short rest makes it easier to roll out later, and I always notice the texture improves when I don’t rush this step.
Making the Chocolate Graham Filling
While the dough rests, prepare the filling. In a small saucepan over low heat, combine the cocoa powder, heavy cream, chocolate chips, sugar, melted butter, vanilla extract, and a pinch of salt. Stir gently until the mixture is smooth and glossy.
Remove the pan from the heat and stir in the graham cracker crumbs. The filling should be thick but spreadable, almost like a soft chocolate paste. Let it cool slightly before using—if it’s too warm, it can melt into the dough instead of staying in defined layers.
Rolling, Filling, and Shaping the S’mores Rolls
Lightly flour your work surface and roll the dough into a large rectangle. Try to keep the thickness even so the rolls bake uniformly. Brush the surface with the remaining melted butter, then spread the cooled chocolate graham filling evenly across the dough.
Starting from the long edge, roll the dough up tightly into a log. Use a sharp knife or dental floss to slice it into even pieces. Place the rolls into a greased baking pan, leaving a little space between each one. They’ll puff up beautifully as they bake.
Baking Until Golden and Gooey
Bake the rolls in a preheated oven until they’re golden brown and set, with chocolate bubbling slightly at the edges. Your kitchen will smell incredible at this point—warm bread, cocoa, and sugar all at once.
Remove the pan from the oven and let the rolls cool slightly. This short rest helps the filling settle and keeps the rolls from falling apart when topped.
Whipping the Marshmallow-Style Meringue
To make the marshmallow topping, whisk the egg whites and sugar together in a heatproof bowl set over gently simmering water. Stir constantly until the mixture is warm and the sugar has fully dissolved.
Transfer the mixture to a mixer and beat on high speed until stiff, glossy peaks form. Add the cream of tartar, salt, and vanilla extract as it whips. The finished meringue should look thick, shiny, and cloud-like—this is the part that really makes these rolls feel like s’mores.
Toasting the Topping for That Classic Finish
Spread the meringue generously over the slightly cooled rolls, creating swirls and peaks. Use a kitchen torch to toast the topping until golden, or place the pan briefly under the broiler. Watch closely—it browns quickly.
The toasted meringue adds a light crispness on top while staying soft underneath, just like a perfectly toasted marshmallow.
Serving and Storing Gooey S’mores Rolls
These rolls are best served warm, when the chocolate is still gooey and the meringue is soft. They’re perfect for sharing, though I’ll admit it’s hard not to go back for seconds.
Store leftovers in an airtight container at room temperature for one day or in the refrigerator for up to three days. Reheat gently to bring back that fresh-from-the-oven texture.
Fun Variations and Easy Swaps
You can swap milk chocolate for semi-sweet if you prefer a sweeter filling, or add mini marshmallows inside the rolls for extra gooey pockets. A sprinkle of crushed chocolate cookies mixed with the graham crumbs is also delicious.
If you don’t want to make meringue, a simple marshmallow fluff topping works in a pinch, though the toasted meringue really elevates the whole experience.
Gooey S’mores Rolls FAQ
Can I make these ahead of time?
Yes. Assemble the rolls, cover, and refrigerate overnight. Bake the next day and add the meringue fresh.
Do I need a kitchen torch?
No, the broiler works just fine. Just keep a close eye on it.
Why is my dough dense?
Dense rolls usually mean the dough didn’t knead long enough or the liquid was too hot and affected the yeast.
Can I freeze them?
You can freeze the baked rolls without the meringue. Thaw, reheat, and top with fresh meringue before serving.
These Gooey S’mores Rolls are messy, indulgent, and absolutely worth it. They feel like a special occasion bake, but once you make them once, you’ll find excuses to bake them again.
