
Why Homemade Twinkies Are Worth Making
If you’ve ever unwrapped a golden, cream-filled Twinkie and thought, “I wish this tasted a bit more real,” you’re in for a treat. Homemade Twinkies capture all the nostalgia of the store-bought classic but with a softer sponge, richer flavor, and a filling that’s impossibly light and creamy. The best part? You know exactly what’s going into them — real butter, fresh eggs, and a touch of vanilla.
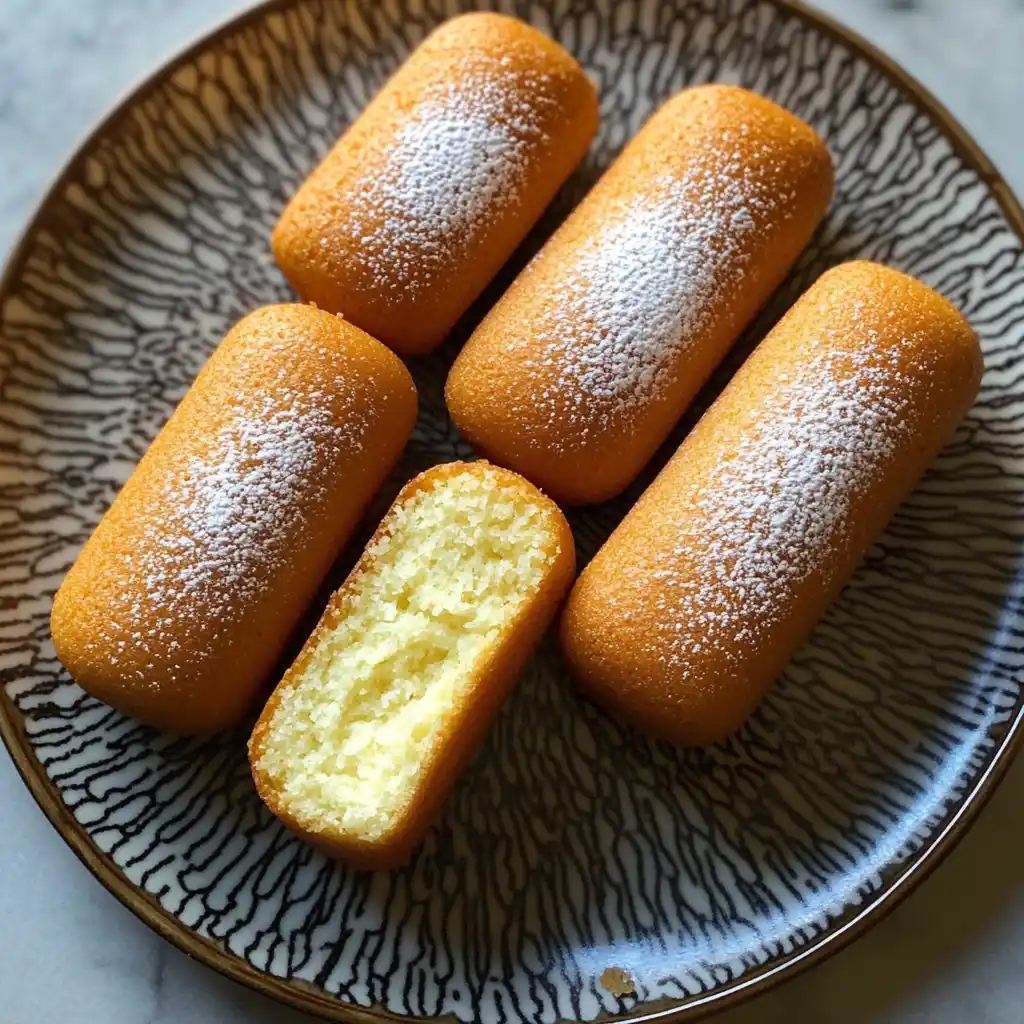
I still remember the first time I made these at home — the aroma of the sponge cake baking was enough to make me hover near the oven door. They come out warm, golden, and spongy, and once you pipe in that marshmallow filling, it’s hard not to eat one straight away. These are the kind of nostalgic desserts that make everyone smile, whether you grew up with them or not.
Ingredients You’ll Need for That Classic Twinkie Taste
For the Cakes:
- 1 cup all-purpose flour
- 1/2 teaspoon baking powder
- 1/4 teaspoon salt
- 4 large eggs, room temperature
- 2/3 cup granulated sugar
- 1/2 teaspoon vanilla extract
- 2 tablespoons milk
- 1 tablespoon unsalted butter, melted
For the Filling:
- 1/2 cup unsalted butter, softened
- 1/2 cup marshmallow creme
- 1 cup powdered sugar
- 1 teaspoon vanilla extract
- 1 tablespoon heavy cream
The combination of eggs and sugar creates that light, springy texture Twinkies are known for, while the milk and butter add a gentle richness. And that filling — made from butter, marshmallow creme, and powdered sugar — is sweet, fluffy, and dangerously good by the spoonful.
Preparing the Batter for the Lightest Sponge
Preheat your oven to 350°F (175°C) and grease your Twinkie pan or a mini loaf pan. The key to achieving that iconic soft texture lies in how you treat the eggs. Beat them with sugar using an electric mixer until the mixture becomes thick, pale, and doubled in volume. You’ll know it’s ready when it falls from the beaters in a slow ribbon.
Gently fold in the sifted dry ingredients — flour, baking powder, and salt — in small batches. This step requires a bit of care; overmixing can deflate the air you just worked to incorporate. I like to use a spatula and a light hand here. The batter should feel airy, not heavy.
Folding in the Butter and Milk for Richness
In a small bowl, combine the melted butter and warm milk, then drizzle them into the batter. Fold gently until just combined. This gives the cakes a tender, moist crumb without weighing them down.
The aroma at this point — sweet, buttery, and slightly eggy — already feels nostalgic. You’ll start to see how this simple recipe transforms into something special even before baking.
Baking the Twinkies Until Golden Perfection
Spoon the batter into your prepared molds, filling each about three-quarters full. This gives them room to rise beautifully without spilling over.
Bake for about 10–12 minutes or until the tops are lightly golden and a toothpick inserted in the center comes out clean. Every oven is a little different, so start checking early — you don’t want to overbake these delicate cakes.
When done, the cakes should spring back lightly when touched. Let them cool completely before removing them from the pan. They’ll feel soft and cloud-like — exactly what you want for that authentic Twinkie texture.
Whipping Up the Fluffy Marshmallow Filling
While the cakes cool, it’s time to make the filling. Beat the softened butter until light and creamy, then add the marshmallow creme and powdered sugar. Mix until it looks smooth and fluffy. Finish with vanilla extract and a splash of heavy cream for that perfect, pipeable texture.
The filling should taste like a dream — sweet but not cloying, light but rich enough to hold its shape. I always take a tiny taste (or two) at this stage; it’s impossible not to.
Filling the Cakes Like a Pro
Once the cakes are completely cool, transfer the filling to a piping bag fitted with a small round tip. Flip each Twinkie over and poke three small holes in the bottom. Gently squeeze a bit of filling into each opening — you’ll feel the cake puff slightly as it fills up.
The first time I did this, I filled one too much, and it oozed out the side — but honestly, that’s part of the charm. A little imperfection makes them feel homemade in the best way.
Storing and Serving Your Homemade Twinkies
You can serve them right away or refrigerate them in an airtight container for later. I like them best slightly chilled — the sponge firms up just enough, and the filling tastes even creamier.
They’ll keep for about three days in the fridge, but realistically, they won’t last that long. Every time I make a batch, they disappear by the next morning.
Fun Variations to Try
Once you’ve nailed the classic version, you can have fun with flavor twists. Try adding a teaspoon of lemon zest to the batter for a bright, citrusy note, or fill them with a chocolate or peanut butter cream for something different.
For a festive touch, dip the ends in melted chocolate and sprinkles — it’s a guaranteed hit at parties and bake sales.
Troubleshooting Tips for Perfect Homemade Twinkies
Why did my cakes deflate?
You may have overmixed the batter or opened the oven door too early. Handle gently and keep that oven closed until they’re set.
Can I make them without a special Twinkie pan?
Absolutely. A mini loaf pan works beautifully — just trim the edges slightly if you want that rounded look.
How do I keep them from sticking?
Grease your molds well or use a light spray of oil and flour. Silicone pans also make release super easy.
Can I freeze them?
Yes! Wrap each cake individually in plastic wrap and freeze for up to 2 months. Thaw at room temperature before serving.
Final Thoughts: A Taste of Nostalgia, Made Better
These Homemade Twinkies are more than just a copycat recipe — they’re a reminder of why baking from scratch feels so rewarding. Each bite brings a mix of buttery sponge and creamy vanilla filling that instantly takes you back.
The process is simple, the ingredients are real, and the result is a treat that feels comforting, nostalgic, and totally irresistible. Once you try these, you might never go back to the packaged version again.
