
Why These Garlic Parmesan New York Pizza Rolls Are Irresistible
If you’ve ever found yourself torn between ordering a pizza or making a warm, shareable snack, these Garlic Parmesan New York Pizza Rolls are the perfect solution. They combine everything you love about classic New York-style pizza — chewy dough, rich marinara, melty cheese, and that unmistakable garlic-parmesan kick — all rolled up into bite-sized perfection.
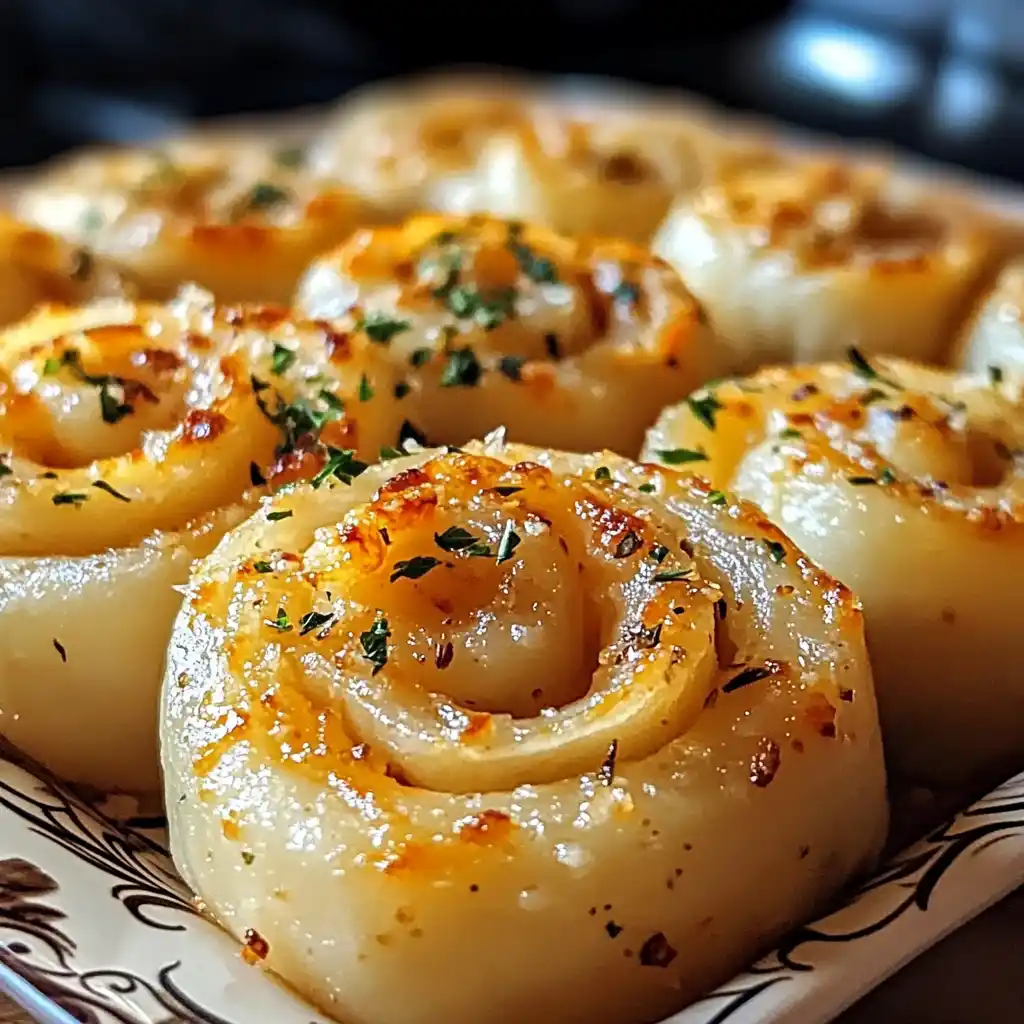
I love how these rolls turn out every single time: crisp on the outside, soft and cheesy in the middle, and loaded with the kind of flavor that fills your kitchen the moment they start baking. They’re perfect for game nights, casual get-togethers, or just a cozy weekend treat. And honestly, they’re so simple to make that you might find yourself skipping takeout more often.
Ingredients You’ll Need for the Perfect Cheesy, Garlicky Flavor
These pizza rolls use just a handful of simple ingredients — but each one plays a key role in creating that irresistible texture and taste.
Ingredients:
- 1 pound pizza dough (homemade or store-bought)
- 1 cup marinara sauce
- 1½ cups shredded mozzarella cheese
- ½ cup grated Parmesan cheese
- 2 cloves garlic, minced
- 2 tablespoons butter, melted
- 1 tablespoon Italian seasoning
- 1 tablespoon fresh parsley, chopped (for garnish)
Good pizza dough makes all the difference here. I prefer a New York-style dough that’s slightly chewy but still soft. The butter-garlic-Parmesan topping is what really sets these apart — it gives every bite that golden, flavorful crust that smells like your favorite pizzeria.
Preparing the Dough – The Foundation of a Perfect Roll
Start with your pizza dough at room temperature; this makes it easier to roll out without springing back. Lightly flour your work surface, then roll it into a large rectangle about 12×16 inches. Try to keep it even — not too thick, not too thin — so the rolls bake up evenly and stay soft inside.
If you’re using store-bought dough, let it rest for at least 20 minutes before rolling; this helps relax the gluten and makes shaping easier. Homemade dough works beautifully too, especially if you like a little more chew.
Building the Flavor Layers with Sauce and Cheese
Spread the marinara sauce evenly across the dough, leaving about a half-inch border around the edges. I like using a homemade sauce with a hint of oregano and crushed red pepper, but a good-quality store-bought one works fine too.
Next, sprinkle on the shredded mozzarella, making sure it’s distributed evenly. Then add half of the grated Parmesan — this gives the filling that extra savory bite that melts into the cheese. The aroma at this stage already hints at how good it’s going to taste once baked.
Rolling and Cutting – Getting That Swirl Just Right
Starting from one of the longer sides, roll the dough tightly into a log. It’s a bit like rolling cinnamon rolls, only this version smells of garlic and cheese instead of sugar and spice.
Once rolled, use a sharp knife or a piece of unflavored dental floss (a great baker’s trick) to slice the log into 1-inch pieces. You should end up with roughly 12–14 rolls, depending on how thick you slice them.
Preparing the Butter Garlic Mixture – The Flavor Booster
In a small bowl, combine the melted butter, minced garlic, Italian seasoning, and the remaining Parmesan. Stir well until the mixture becomes fragrant and slightly thick. This is where the magic happens — that buttery, garlicky coating gives these rolls their signature golden crust.
When you brush this over the rolls before baking, the garlic infuses into the dough and the Parmesan crisps up beautifully. The smell alone is worth the effort.
Baking to Golden Perfection
Preheat your oven to 375°F (190°C) and lightly grease a baking dish or line it with parchment paper. Arrange the rolls snugly, but make sure they’re not touching too tightly — they’ll expand a bit in the oven.
Brush each roll generously with the garlic-butter mixture. Bake for 20–25 minutes, or until the tops are golden brown and the cheese is bubbling through the seams.
I always know they’re ready when my kitchen smells like an Italian restaurant — buttery, cheesy, and just a touch garlicky.
Serving and Garnishing – That Final Touch
Once baked, let the rolls cool for a few minutes before removing them from the dish. Brush a little extra melted butter on top if you want that glossy finish, then sprinkle with chopped fresh parsley. The green gives a pop of color and a subtle freshness that balances the richness.
These pizza rolls are best enjoyed warm, right out of the oven. I love serving them with a side of extra marinara for dipping — it’s the perfect way to catch any of that garlicky cheese that might escape.
Pairing Ideas – Dips, Drinks, and More
These rolls are so versatile that you can serve them as a snack, appetizer, or even a light dinner. Pair them with ranch dressing, garlic aioli, or a creamy tomato dip if you want to mix things up.
For drinks, try them with something crisp and refreshing like lemonade, or a cold beer if you’re serving adults. They also make a fun addition to any pizza night — especially when you want to impress guests without spending hours in the kitchen.
Storing and Reheating – Keeping Them Fresh and Crispy
If you happen to have leftovers (which doesn’t happen often in my house), store them in an airtight container in the fridge for up to three days. Reheat them in the oven at 180°C (350°F) for about 5–7 minutes to bring back that fresh-out-of-the-oven crispness.
Avoid the microwave if you can — it tends to make the dough soft instead of crisp. If you must use it, wrap the rolls in a slightly damp paper towel to help them reheat more evenly.
Your Pizza Roll Questions, Answered
Can I use other fillings?
Absolutely. Pepperoni, cooked sausage, sautéed mushrooms, or even roasted vegetables make fantastic additions. Just don’t overload the dough — too much filling makes it harder to roll and bake evenly.
Can I make these ahead of time?
Yes! You can assemble the rolls, cover them tightly, and refrigerate for up to 12 hours before baking. Let them come to room temperature before putting them in the oven.
Can I freeze them?
Definitely. Freeze baked and cooled rolls in a sealed container for up to 2 months. Reheat directly from frozen at 180°C (350°F) for 10–12 minutes.
What kind of dough works best?
A classic pizza dough made with bread flour gives the best chewy texture. Store-bought dough works great too — just make sure it’s fresh and not over-chilled.
Why are my rolls soggy on the bottom?
That usually happens if the sauce is too watery or the rolls are packed too tightly in the pan. Use a thick marinara sauce and give each roll a little space to bake evenly.
Golden, cheesy, and loaded with garlicky goodness — these Garlic Parmesan New York Pizza Rolls are everything you crave in a pizza, but easier to share and even more fun to eat. Once you try them, you’ll want to keep a batch of dough ready for the next craving.
