
Why These Garlic Dinner Rolls Are Worth Every Minute
There’s something special about pulling a tray of homemade garlic dinner rolls out of the oven — the golden tops glistening with butter, the aroma of garlic and herbs filling your kitchen. These rolls are soft, slightly chewy, and full of flavor from rosemary, parsley, and oregano. I love making them when I want something cozy and impressive without being complicated.
They pair perfectly with soups, stews, or pasta dishes, and honestly, they’re so good you’ll find yourself sneaking one straight from the pan. The buttery garlic-herb glaze makes them irresistibly fragrant, and the texture — soft and fluffy inside, lightly crisp on top — is exactly what homemade bread should be.
Ingredients You’ll Need for the Perfect Garlic Dinner Rolls
Making these rolls from scratch doesn’t require much more than pantry staples and a bit of patience for the dough to rise. Here’s what you’ll need:
For the Dough:
- 1 cup whole milk, warmed to 110–115°F
- 2 ¼ teaspoons active dry yeast
- 2 tablespoons granulated sugar, plus 1 teaspoon
- 2 large eggs, lightly beaten
- ¼ cup unsalted butter, melted and cooled
- 1 teaspoon garlic powder
- 1 ½ teaspoons salt
- 3 ½ to 4 cups bread flour, plus more as needed
- ¾ tablespoon fresh chopped rosemary
- 2 tablespoons fresh parsley, finely chopped and patted dry
- 1 teaspoon dried oregano
For the Garlic Herb Butter:
- 6 tablespoons unsalted butter, melted
- ½ tablespoon Italian seasoning
- 3 cloves garlic, minced
The combination of garlic, butter, and herbs gives these rolls a depth of flavor you don’t get from plain dinner rolls. The rosemary adds an earthy note, parsley brightens everything up, and oregano ties it all together.
Activating the Yeast – The Key to Fluffy Rolls
Start by warming the milk — it should feel warm but not hot to the touch. Stir in one teaspoon of sugar and the yeast, then let it sit for about 5 to 10 minutes until it becomes frothy. If it doesn’t bubble, the yeast may be inactive, and it’s best to start again. This step ensures your rolls rise beautifully later on.
You’ll notice a comforting yeasty aroma once it activates — that’s the sign your dough will be light and airy.
Mixing the Dough – Building the Foundation
In the bowl of your stand mixer fitted with a dough hook, add the remaining sugar, eggs, melted butter, garlic powder, and salt. Mix on low until combined. Slowly add 3 cups of bread flour, one cup at a time, scraping down the sides as needed.
Continue adding flour in small increments until the dough forms a soft, slightly sticky ball. It should pull away from the sides of the bowl but still cling slightly to the bottom. If it’s too sticky, sprinkle in a bit more flour, a tablespoon at a time.
You can do this step by hand if you prefer — it just takes a little more elbow grease, but I find it oddly relaxing.
Kneading the Dough – Creating Structure and Softness
Knead the dough on medium-high speed for about 3 minutes, or by hand for 8 to 10 minutes, until it’s smooth and stretchy. This step develops the gluten, which gives the rolls that wonderful chew.
Once the dough feels elastic, add the rosemary, parsley, and oregano. Mix on low speed until the herbs are evenly distributed. You’ll start to smell the fresh herbs coming to life — it’s such a satisfying part of the process.
First Rise – Letting the Dough Work Its Magic
Transfer the dough to a lightly floured surface and knead briefly to smooth it out. Form it into a ball, place it in a lightly oiled bowl, and turn it so it’s coated in oil. Cover the bowl tightly with plastic wrap or a clean kitchen towel and let it rise in a warm spot until it doubles in size.
Depending on your kitchen’s temperature, this could take about an hour. The dough should feel airy and pillowy when it’s ready — it’s one of those small joys in bread making that never gets old.
Shaping the Rolls – Forming Perfect Little Pillows
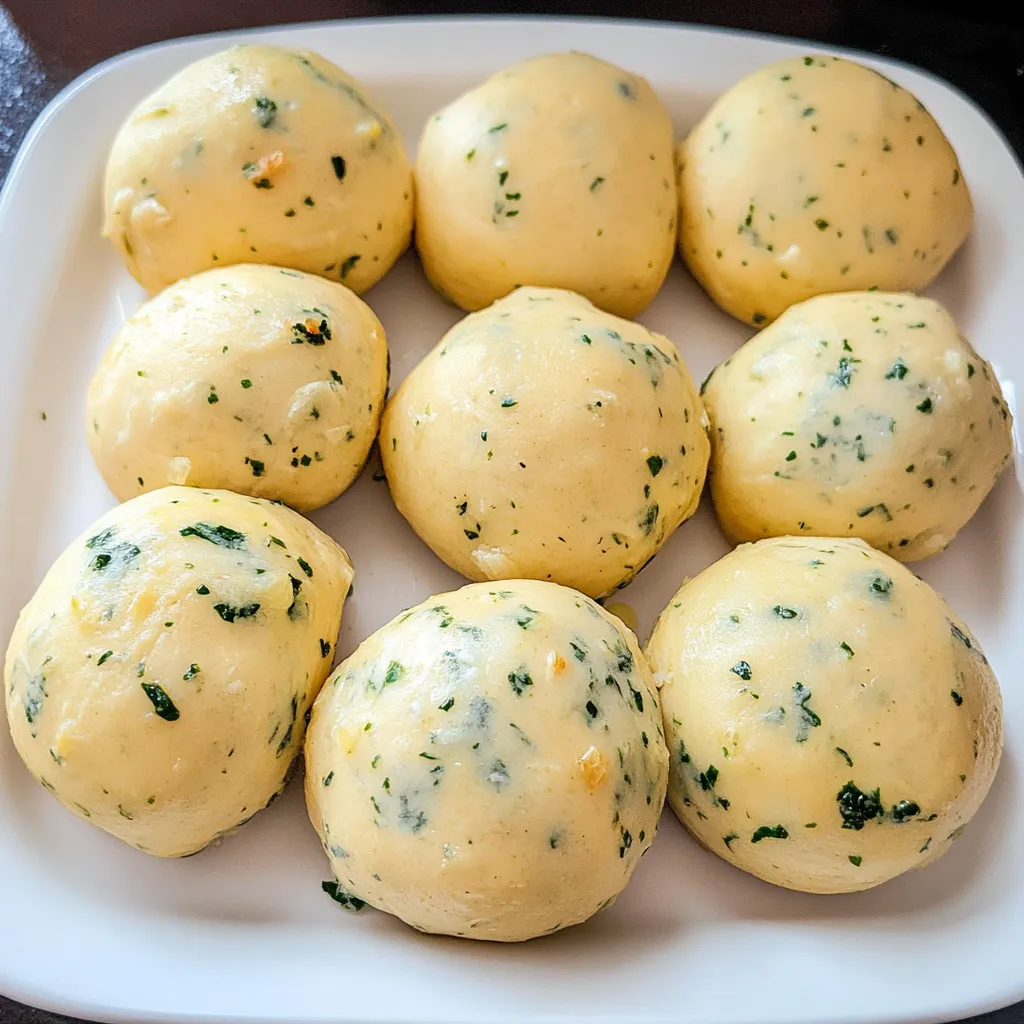
Punch down the dough gently to release the trapped air, then divide it in half. Cut each half into six equal pieces to make twelve rolls in total. Shape each piece into a smooth ball by tucking the edges underneath and pinching the bottom to seal.
Arrange the rolls in a greased 9×13-inch baking pan. Cover and let them rise again until doubled — they should look puffy and snug against one another. This second rise gives them that delicate texture inside.
Baking – Golden, Buttery, and Perfectly Aromatic
Preheat your oven to 350°F (180°C). While it heats, melt the butter for the garlic-herb topping and stir in the minced garlic and Italian seasoning. Brush this mixture generously over the risen rolls before baking.
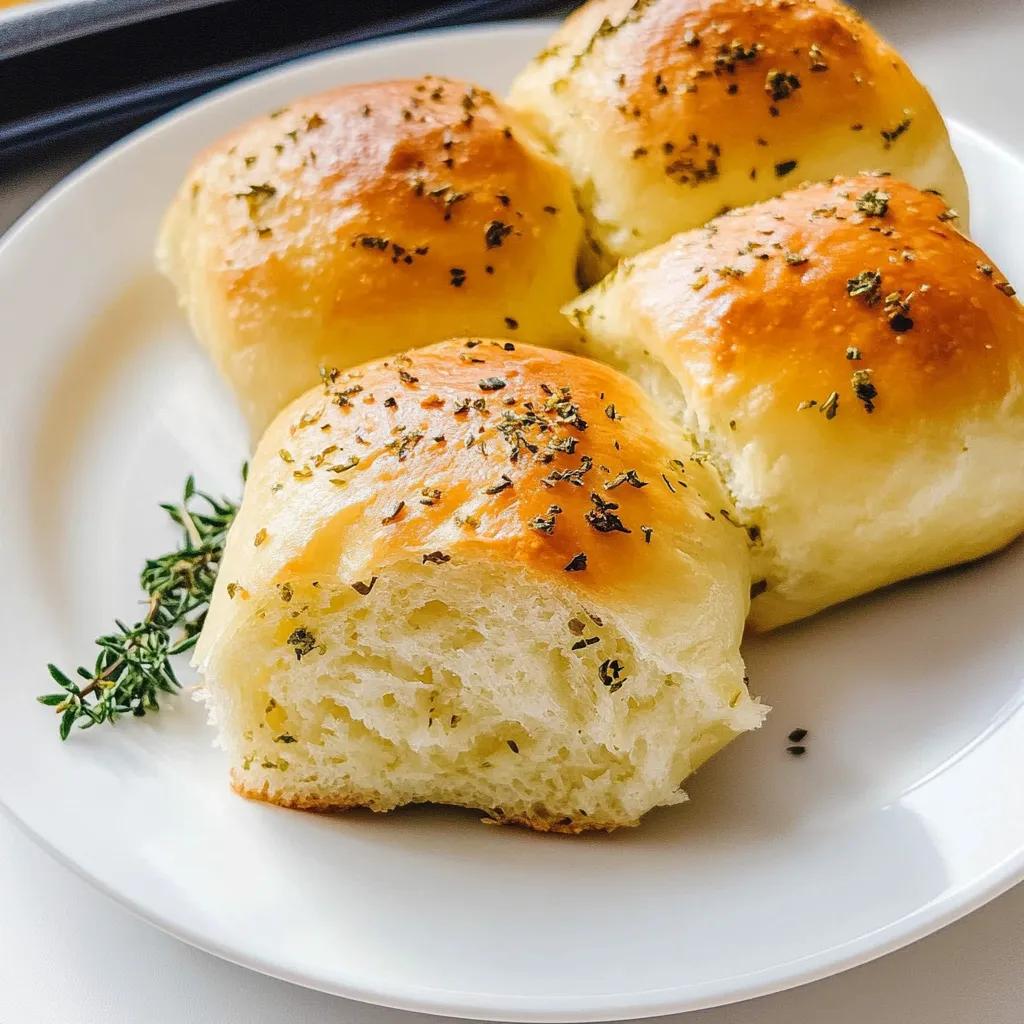
Bake until golden brown on top — about 20 to 25 minutes. Your kitchen will smell incredible — a mix of roasted garlic, warm bread, and herbs that’s impossible to resist.
As soon as they come out, brush them again with melted butter. This gives the tops that beautiful shine and a soft bite. Let them cool just slightly before serving.
Serving Ideas – What to Pair These Rolls With
These garlic dinner rolls are wonderfully versatile. Serve them warm alongside pasta, soups, or roasted meats. I especially love them with creamy dishes like chicken alfredo or tomato bisque — the rolls are perfect for soaking up extra sauce.
They’re also great for small sandwiches or sliders, especially when filled with leftover roast beef or turkey. And if you ever have extras (though that’s rare), you can slice them in half and toast them with cheese for a quick snack.
Tips for the Best Garlic Dinner Rolls Every Time
- Check your yeast freshness. Always make sure your yeast is active — no foam means no rise.
- Don’t rush the rise. Warmth and patience are key for soft, airy rolls.
- Use bread flour. It gives a better texture than all-purpose flour.
- Brush twice. Once before baking for flavor, and once after for that buttery finish.
If you want to make them ahead, you can refrigerate the shaped rolls overnight and bake the next day — just let them come to room temperature before popping them in the oven.
Your Garlic Dinner Roll Questions, Answered
Can I use instant yeast instead of active dry yeast?
Yes, you can! Just skip the proofing step and mix the instant yeast directly into the flour.
What if I don’t have fresh herbs?
Dried herbs work fine — just reduce the amount by half, since dried herbs are more concentrated.
Can I make these rolls dairy-free?
Absolutely. Substitute plant-based milk and vegan butter. The texture will still be soft and flavorful.
How do I store leftovers?
Keep them in an airtight container at room temperature for up to 2 days or refrigerate for up to 5 days. Reheat in the oven for a few minutes to bring back that fresh-baked softness.
Can I freeze them?
Yes! Freeze after baking and cooling completely. Reheat in a 300°F oven until warm and fluffy again.
These garlic dinner rolls never fail to impress — soft, fragrant, and buttery with just the right balance of herbs and garlic. Every time I bake them, they remind me why homemade bread is so rewarding — simple ingredients transformed into something unforgettable.
