
Why I Love Making Infused Olive Oils at Home
There’s something quietly satisfying about making infused olive oils yourself. It feels a bit old-world and practical at the same time. I started doing this years ago when I had too much rosemary growing in my garden and didn’t want it to go to waste. One jar turned into a habit, and now I almost always have an infused oil sitting in a dark corner of my kitchen.
The best part is how effortless it feels. You’re not cooking in the traditional sense, yet the result adds depth and personality to everyday meals. Drizzle it over roasted vegetables, warm bread, or pasta, and suddenly everything tastes more intentional.
Choosing the Right Ingredients for Infused Olive Oil
Because this recipe is so simple, ingredient quality really matters. A good olive oil becomes the backbone of the infusion, carrying every aroma and flavor with it.
Ingredients:
- 1 cup high-quality olive oil
- 1–2 sprigs fresh rosemary
- 2–3 garlic cloves, peeled and lightly crushed
- 1 teaspoon black peppercorns
- 1 dried red chili, optional
I recommend using a mild to medium olive oil rather than something overly peppery. You want the herbs and garlic to shine without fighting the oil itself.
Preparing Herbs and Aromatics the Right Way
This step is more important than it looks, especially for safety and flavor. Rinse the rosemary under cool water, then pat it completely dry. I usually let it air-dry for an hour or two just to be sure there’s no moisture left. Water is the enemy of infused oils and can shorten their shelf life.
Peel the garlic cloves and gently crush them with the flat side of a knife. You’re not mincing here—just breaking them enough to release their aroma. When you do this, you’ll notice that unmistakable garlic scent immediately, which is always a good sign.
Building Flavor Inside the Jar
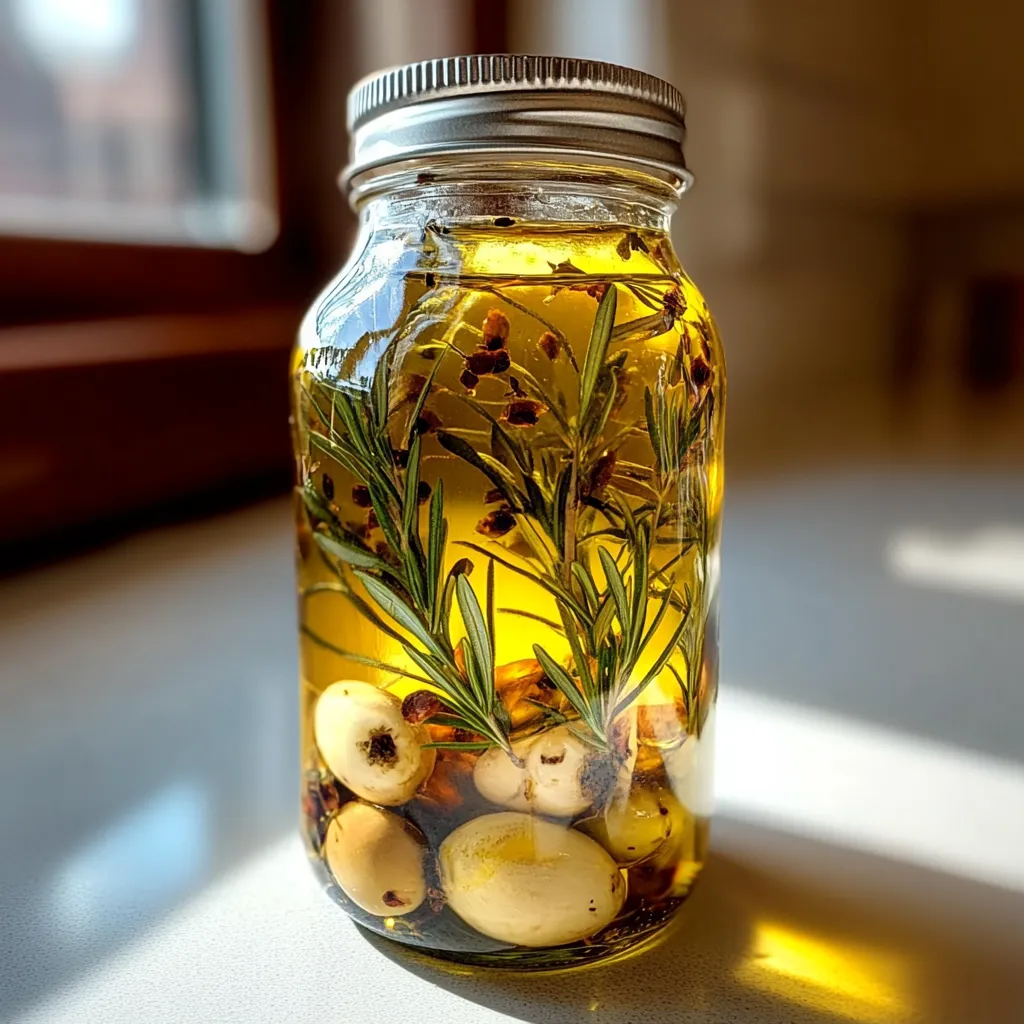
Add the olive oil, rosemary, garlic, peppercorns, and dried chili (if using) to a clean glass jar. Make sure everything is fully submerged in the oil. I like using a jar with a tight-fitting lid so I can gently swirl the contents without worrying about leaks.
Seal the jar and give it a slow swirl to combine everything. Don’t shake it aggressively—just enough to help the flavors start mingling. At this stage, the oil already smells promising, but patience will reward you later.
The Infusion Process: Time, Patience, and Aroma
Place the jar in a cool, dark location like a pantry or cupboard. Let it infuse for several days, swirling gently once a day if you remember. I usually start tasting after three days by dipping in a clean spoon and checking the flavor.
You’ll notice the aroma deepen first, followed by a fuller, rounder taste. Some people prefer a lighter infusion, while others let it go for a week or more. Trust your senses here—this is one of those recipes where intuition matters.
Straining and Bottling for a Clean Finish
Once the oil reaches the flavor strength you like, strain it through a fine-mesh sieve or cheesecloth into a clean bottle. Take your time with this step; you want the oil to be clear and free of any solids.
Discard the herbs and garlic, then label the bottle with the date and flavor. I always think I’ll remember what’s inside, but after a few jars, labels save a lot of guessing.
Serving Ideas I Reach for Again and Again
This infused olive oil is incredibly versatile. I use it to finish soups, drizzle over grilled vegetables, and brush onto bread before toasting. It’s also wonderful mixed into salad dressings or spooned over fresh mozzarella with a pinch of salt.
One of my favorite simple pleasures is warming the oil slightly and dipping crusty bread into it. You’ll notice the rosemary and garlic bloom as soon as the oil hits warmth.
Storage Tips and Shelf Life
Store your infused olive oil in a cool, dark place, just like regular olive oil. For best quality and safety, use it within two to four weeks. If you want it to last longer, storing it in the refrigerator can extend its life, though the oil may solidify slightly.
If you ever notice cloudiness, bubbles, or an off smell, it’s best to discard it and start fresh. Making a new batch is easy, and it’s always worth it.
Flavor Variations to Try Next
Once you’re comfortable with this basic recipe, it’s fun to experiment. Swap rosemary for thyme or oregano, add lemon peel for a bright citrus note, or use dried herbs for a more robust flavor.
You can also make single-flavor oils, like garlic-only or chili-only, which are great for specific dishes. Just remember that dried ingredients generally last longer than fresh ones.
Common Questions About Infused Olive Oils
Can I use dried rosemary instead of fresh?
Yes, dried rosemary works well and can even extend shelf life. Use about half the amount since dried herbs are more concentrated.
Is it safe to infuse garlic in oil?
Yes, as long as you strain out the solids and store the oil properly. Always keep it cool and use it within a few weeks.
How strong should the flavor be?
That’s entirely up to you. Start tasting after a few days and stop the infusion when it tastes right to you.
Can I reuse the herbs for a second batch?
I don’t recommend it. The flavor will be weaker, and the herbs are usually spent after one infusion.
DIY infused olive oils are one of those small kitchen projects that feel rewarding every time you use them. Once you’ve made your own, store-bought versions never quite taste the same again.
