
A Sweet Taste of Nostalgia – The Story Behind Caramelitas
There’s something about a gooey, chewy bar that instantly brings comfort. Caramelitas are one of those classic treats that combine the sweetness of caramel, the richness of chocolate, and the hearty texture of oats into a single bite. I remember making these with my siblings when I was a kid, sneaking pieces straight from the pan before they even cooled. The aroma of caramel and chocolate wafting through the kitchen is something that always makes me smile, and I love how each batch turns out slightly different but always indulgent.
These bars are perfect for sharing at family gatherings, gifting to friends, or simply keeping on hand for a sweet pick-me-up. They’re a little messy, a little decadent, but always irresistible.
What You’ll Need to Make These Chewy Chocolate-Caramel Bars
The beauty of Caramelitas is that the ingredients are simple but combine to create something extraordinary. Make sure to use soft caramels for a smooth melt and good-quality chocolate chips for a rich finish.
Ingredients:
- 1 cup rolled oats
- 3/4 cup melted butter
- 1 cup all-purpose flour
- 3/4 cup brown sugar
- 1 teaspoon baking soda
- 1 bag soft caramels (about 11 oz)
- 1 cup chocolate chips
- 1/2 cup heavy cream
Preparing the Caramel and Chocolate Layers
Start by preparing your caramel. Combine the soft caramels and heavy cream in a small saucepan over medium heat. Stir continuously until the mixture is fully melted and smooth. You’ll notice the aroma of rich caramel filling the kitchen—it’s instantly comforting. Set this aside while you prepare the oat base.
Next, preheat your oven to 350°F (175°C) and grease an 8×8 inch baking pan. This will ensure your bars don’t stick and makes cleanup easier.
Crafting the Oat Crust and Base Layer
In a mixing bowl, combine the melted butter, brown sugar, flour, rolled oats, and baking soda. Stir until everything is evenly mixed and a slightly crumbly, sticky dough forms. I love how the brown sugar and butter blend, giving off that warm, nutty aroma.
Press half of this oat mixture evenly into the bottom of your prepared baking pan. The crust doesn’t have to be perfect, but try to spread it evenly for uniform baking. Bake this base briefly, just long enough to set it up a bit—it gives a sturdy foundation for your layers.
Layering the Chocolate and Caramel
Once the crust is baked, remove it from the oven and sprinkle chocolate chips evenly across the top. Then pour the prepared caramel mixture over the chocolate, spreading it carefully to cover the chips. I always sneak a tiny taste here—the caramel is dangerously good!
Next, take the remaining oat mixture and sprinkle it gently over the caramel layer. It doesn’t need to be perfect; some caramel peeking through looks rustic and inviting.
Baking and Achieving the Perfect Golden Top
Return the pan to the oven and bake until the top is golden brown. You’ll notice the sweet, buttery smell filling the kitchen as the bars finish baking. It’s one of those scents that makes everyone gather in anticipation.
After baking, let the Caramelitas cool completely. This step is crucial—cutting them too early can result in sticky, messy squares. Waiting is hard, but worth it.
Serving and Storing Your Homemade Caramelitas
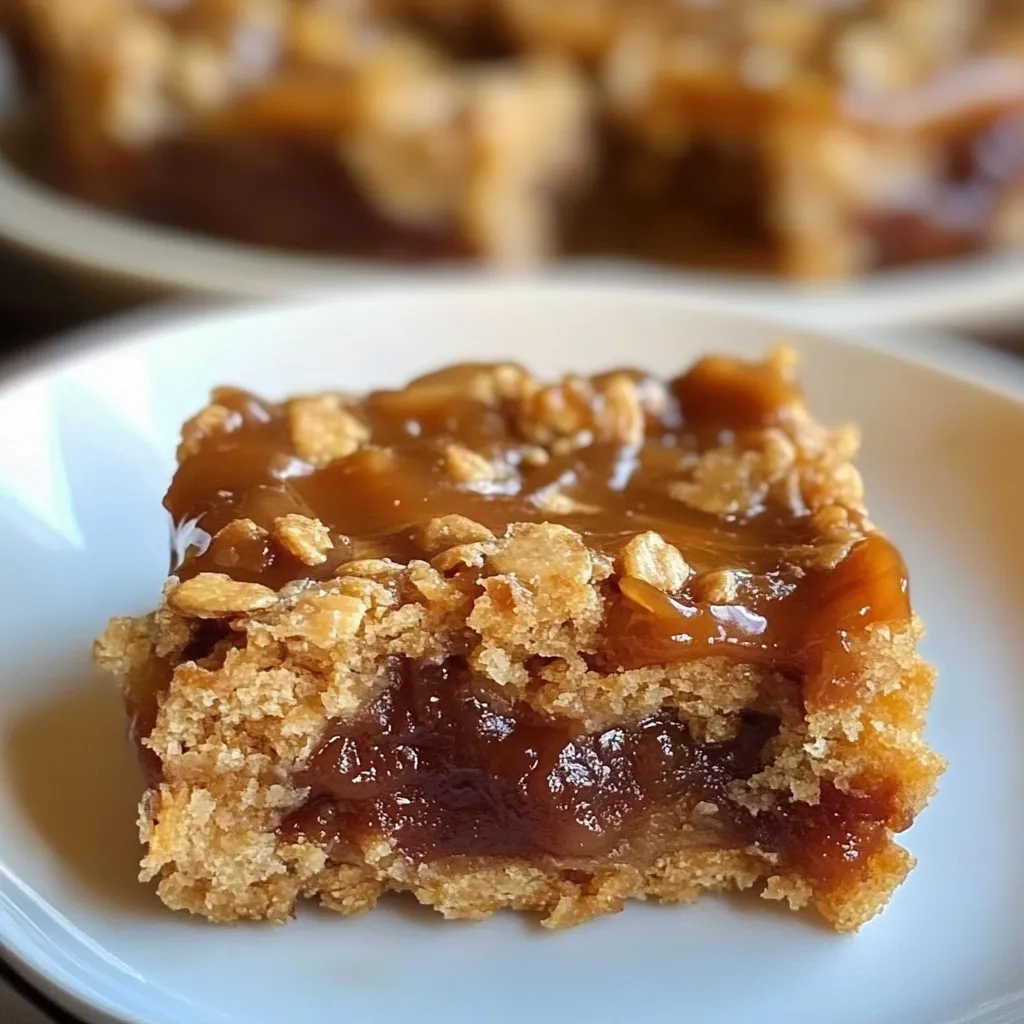
Once cooled, cut the bars into squares or rectangles. They’re chewy, chocolatey, and perfectly sweet in every bite. Serve them with coffee, tea, or just as a mid-afternoon treat.
Store your bars in an airtight container at room temperature for up to a week, or freeze them for longer storage. I like layering parchment paper between the bars if I’m stacking them—it keeps them from sticking together.
Creative Ways to Enjoy Caramelitas
Caramelitas are versatile. You can drizzle extra chocolate on top, sprinkle sea salt for a salted caramel twist, or even add chopped nuts for crunch. They’re also fantastic for dessert plates at parties or cut smaller as bite-sized snacks for kids.
Variations to Try – From Nutty to Chocolate Overload
Experiment with different add-ins. Toasted pecans or walnuts add a wonderful texture, while white chocolate chips or butterscotch chips bring a new flavor dimension. You can even layer in peanut butter for a decadent twist. Each variation feels like a new treat but keeps that classic chewy bar base.
Nutrition Snapshot – Sweet Facts About These Chewy Bars
While these bars are indulgent, they provide a bit of fiber from the oats and energy from the sugar and butter. They’re perfect for a treat when you need a little boost, but the key is moderation—one or two bars are usually enough to satisfy any sweet craving.
Sweet Questions Answered – Your Caramelitas FAQ Corner
Can I use regular caramel candies instead of soft caramels?
Soft caramels work best for a smooth, creamy layer. Regular hard caramels can be tricky to melt evenly.
Can I make these gluten-free?
Yes, substitute the all-purpose flour with a gluten-free flour blend. The texture will be slightly different but still delicious.
Why is my caramel layer too thick or thin?
Ensure you use the correct amount of heavy cream and cook until smooth. Adjust slightly if your caramels are larger or firmer than standard soft caramels.
How long will they keep?
Stored in an airtight container, Caramelitas last about a week at room temperature or up to a month in the freezer.
Can I make them ahead of time for a party?
Absolutely! They taste even better after a day when the flavors meld together. Just cut them right before serving for clean squares.
Making Caramelitas is one of those recipes that rewards patience with a sweet, chewy, and chocolatey bite every time. Once you make a batch, you’ll understand why they’re a classic favorite in any dessert rotation.
