
Why Homemade Baked Beans Are Worth the Effort
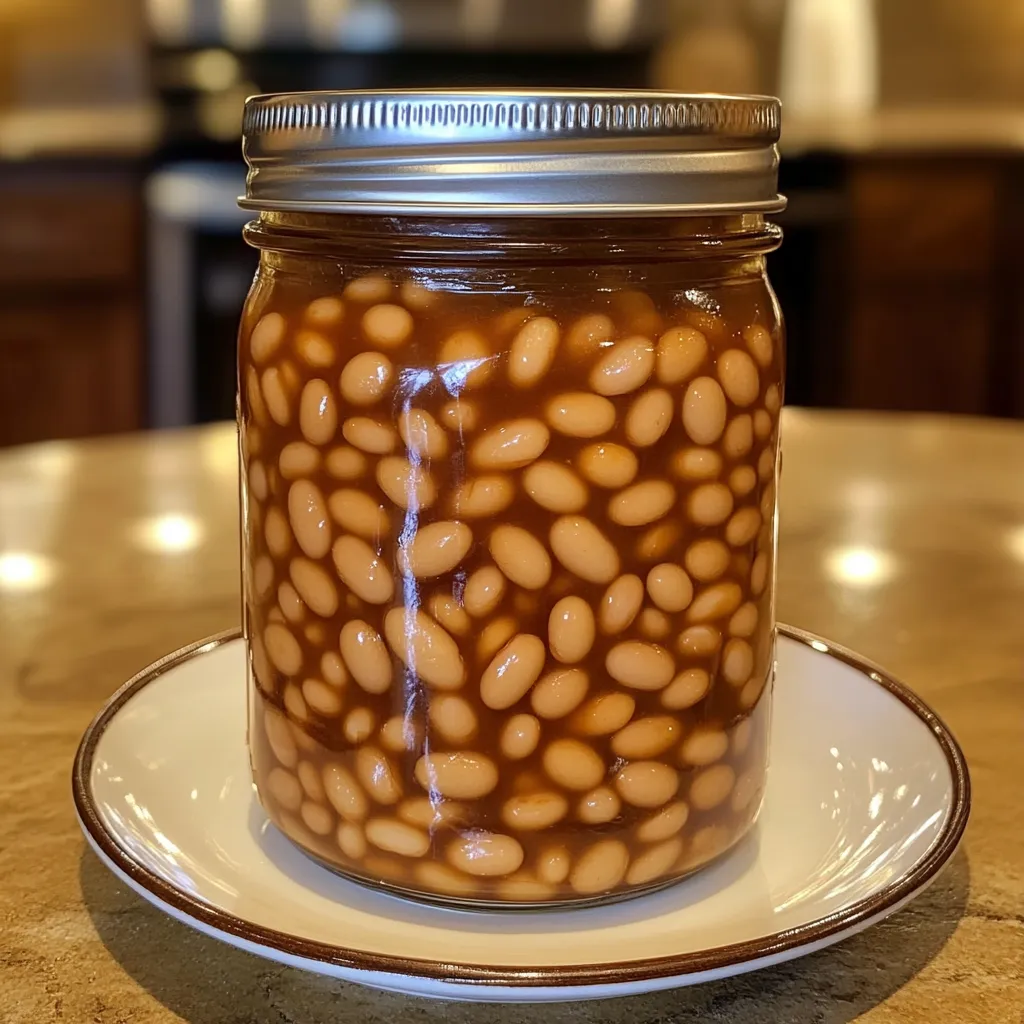
There’s something uniquely satisfying about opening a jar of homemade baked beans and knowing you made it from scratch. These Home Canned Baked Beans beat store-bought versions because you control the sweetness, the seasoning, and the texture. I love how the beans are tender but not mushy, coated in a rich, molasses-kissed sauce. The aroma fills the kitchen and hints at all the cozy meals to come.
Making baked beans at home might sound intimidating, but with a little planning, it’s incredibly rewarding. Plus, having jars of beans ready to heat and serve is a total game-changer for quick weeknight dinners or potlucks.
Ingredients That Make These Beans Stand Out
The magic of baked beans is in the balance of sweet, tangy, and savory flavors. Here’s what you’ll need:
Ingredients:
- 1 lb dry navy beans
- 6 cups water
- 1/2 cup brown sugar, packed
- 1/4 cup granulated sugar
- 1/4 cup molasses
- 1/4 cup ketchup
- 1 tablespoon Worcestershire sauce
- 1 teaspoon mustard powder
- 1/2 teaspoon salt
- 1/2 teaspoon black pepper
- 1/2 cup chopped onion
- 1/2 cup diced bacon (optional)
- 1/2 teaspoon garlic powder
- 1/2 teaspoon smoked paprika (optional)
Navy beans are perfect for this recipe because they hold their shape while soaking up all the rich sauce flavors. The combination of brown sugar, molasses, and ketchup creates that classic sweet-savory profile, while Worcestershire sauce and mustard powder add depth and complexity.
Preparing Your Beans for the Perfect Texture
Begin by rinsing and sorting the navy beans, removing any debris or imperfect beans. Soak them in 4 cups of water overnight or for at least 8 hours. This softens them and reduces cooking time. Drain and rinse before moving on.
Next, combine the soaked beans with 6 cups of fresh water in a large pot. Bring to a boil and cook until tender but still intact — you want beans that are soft without falling apart. This step is crucial because overcooked beans can turn mushy during canning.
Mixing the Perfect Baked Bean Sauce
In a large mixing bowl, combine the brown sugar, granulated sugar, molasses, ketchup, Worcestershire sauce, mustard powder, salt, pepper, chopped onion, diced bacon (if using), garlic powder, and smoked paprika. Stir until all the ingredients are evenly mixed.
I like to taste the sauce before adding the beans to adjust sweetness or seasoning. The sauce should be rich, slightly tangy, and full of flavor — it’s what makes these beans “better than Bush’s.”
Combining Beans and Sauce for Maximum Flavor
Gently fold the cooked beans into the sauce mixture. Take care not to mash the beans; you want each one to stay intact so that when they’re canned, they maintain a beautiful, hearty texture. The beans will soak up the flavors while cooking and sitting in the jars, becoming even more delicious over time.
Filling and Sealing Your Canning Jars
Prepare your canning jars and lids according to your pressure canner’s instructions. Spoon the bean mixture into the jars, leaving about 1-inch headspace at the top. Wipe the rims of the jars with a clean, damp cloth to ensure a proper seal.
Seal the jars with the lids and process them in a pressure canner following the manufacturer’s recommended time and pressure for beans. This step is critical for safety — never skip the pressure canning process with low-acid foods like beans.
Cooling, Storing, and Serving Your Homemade Baked Beans
After processing, allow the jars to cool completely on a towel or cooling rack. You’ll hear the satisfying “pop” of sealed lids as they cool. Store the beans in a cool, dark place for up to a year. Once opened, refrigerate and consume within a few days.
When ready to serve, heat the beans gently on the stovetop or in the microwave. I love spooning them over toast, alongside grilled meats, or just enjoying them straight from the jar for a comforting, hearty meal.
Flavor Tips and Variations to Try
Feel free to tweak this recipe to your taste. Add a splash of apple cider vinegar for tang, a pinch of cayenne for heat, or swap the bacon for smoked sausage for a smoky twist. You can also experiment with different sweeteners — maple syrup or honey work beautifully in place of some of the sugar or molasses.
The best part about making baked beans at home is the freedom to adjust flavors exactly how you like them, creating a comforting, homemade version that’s truly your own.
Common Questions About Home Canned Baked Beans
Can I skip the bacon?
Yes! The beans are flavorful enough without meat, making this recipe vegetarian-friendly if desired.
How long should I soak the beans?
Overnight is best, around 8 hours, but a quick soak method works in a pinch: boil for 2 minutes, remove from heat, and let sit for 1 hour before draining.
Can I use a slow cooker instead of the stovetop?
Yes, you can cook the soaked beans in a slow cooker before mixing with the sauce, but you still need to pressure can them for safe storage.
Why is pressure canning necessary?
Navy beans are low-acid foods, and pressure canning ensures harmful bacteria like botulism are eliminated.
Can I freeze these beans instead of canning?
Absolutely. Fill freezer-safe containers, leaving some headspace, and they’ll keep for 6–8 months. Thaw and heat gently before serving.
Making home canned baked beans is a labor of love that pays off with rich flavor, tender beans, and a pantry full of convenience. Each jar feels like a little victory and a guaranteed crowd-pleaser whenever you open it.
