
A Cozy Tradition – The Heart Behind Canning Mandarin Oranges
There’s something incredibly satisfying about preserving fresh citrus at home. Every winter, when mandarin oranges are at their peak, I love setting aside an afternoon to can a few jars. The kitchen fills with a clean, sweet aroma as the syrup simmers and the jars warm in the canner. It feels like bottling sunshine for later in the year. Canning mandarin oranges isn’t difficult, but it does require patience and a gentle touch. Once you try it, you’ll understand why so many home canners look forward to this project each season.
What You’ll Need to Can Sweet, Tender Mandarin Segments
A few simple ingredients and some basic canning equipment are all it takes to create beautiful jars of bright citrus.
Ingredients:
- Mandarin oranges, peeled and cleaned
- 1/3 cup sugar
- 4 cups water
- Additional hot water as needed
- Vinegar for wiping rims
These basic ingredients transform the fruit into soft, syrup-kissed segments that hold up beautifully on the shelf.
Preparing Your Workspace and Sterilizing the Jars
Start by getting your canner ready. Place the rack inside, fill it halfway with water, and begin heating it to a gentle boil. This warms the canner so the jars won’t crack when they go in.
Wash the jars, lids, rings, and tools in hot soapy water. Rinse well and keep the jars warm—either in the canner or in a warm oven—until you’re ready to fill them. Working with warm jars prevents temperature shock once the hot syrup is added.
Making a Simple Syrup to Preserve the Fruit
In a medium pot, combine the 1/3 cup of sugar with 4 cups of water. Simmer over medium heat, stirring until the sugar dissolves completely. You don’t need a thick syrup here—just a light, clean sweetness that supports the natural flavor of the mandarins. I always notice how fresh and fragrant the syrup becomes as it warms.
Preparing and Packing the Mandarin Segments
Wash the mandarin oranges in warm soapy water with a bit of baking soda to remove any residues. Rinse well.
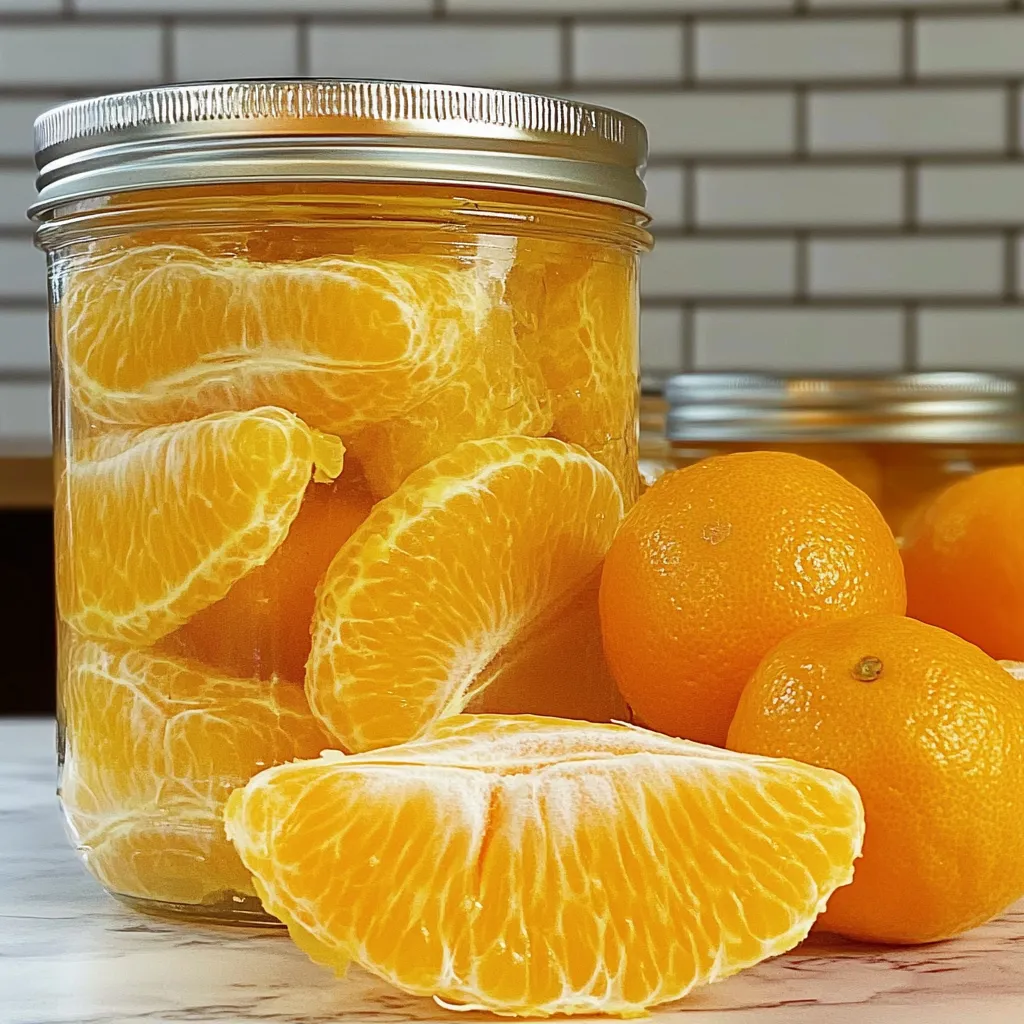
Peel each orange, taking extra time to remove as much pith and string as possible. The more you remove, the better the finished product looks and tastes. Separate the segments gently so they don’t tear.
Pack the segments tightly into warm jars, leaving 1/2 inch of headspace. The oranges will shift slightly once the syrup is added, so it’s fine to pack them firmly.
Filling Jars with Syrup and Removing Air Bubbles
Pour the hot simple syrup over the fruit, filling each jar to the same 1/2 inch headspace. Use a non-metal tool—like a plastic spatula or bubble remover—to gently release trapped air bubbles. If the level drops, top off with a bit more syrup. Make sure the fruit is fully covered.
Cleaning Rims and Securing Lids
Dip a clean cloth in vinegar and wipe the rims well. This step matters more than people think; citrus can leave tiny residues that interfere with sealing.
Place the lids on the jars, being careful not to touch the underside, then screw on the rings until they are just finger-tight. Over-tightening can prevent proper venting during processing.
Processing Your Jars Safely in the Canner
Lower the jars onto the rack inside the canner. If needed, pour in extra hot water to ensure each jar is covered by at least an inch of water. Cover the canner and bring it to a vigorous boil.
Process the jars for the amount of time recommended for your elevation. This ensures the fruit is safely preserved and shelf-stable.
When the timer ends, turn off the heat and remove the lid. Let the jars sit in the canner for five minutes—this helps prevent siphoning.
Cooling, Labeling, and Storing Your Finished Citrus
Using a jar lifter, remove the jars straight up without tilting. Place them on a towel in a draft-free spot and let them rest undisturbed for 12 to 24 hours. You’ll hear the satisfying “ping” of seals forming as they cool.
The next day, remove the rings, wash the jars, check the seals, label them with the date, and store them in a cool, dark place. Properly sealed jars will last for many months, preserving that bright, juicy flavor long after the season has passed.
