
Why Homemade Orange Rings Are Worth Making
There’s something so special about taking a simple orange and turning it into a glossy, jewel-like treat that tastes as good as it looks. These Homemade Orange Rings are sweet, slightly chewy, and bursting with natural citrus flavor. Every bite has that perfect balance of zesty peel and soft, candied fruit.
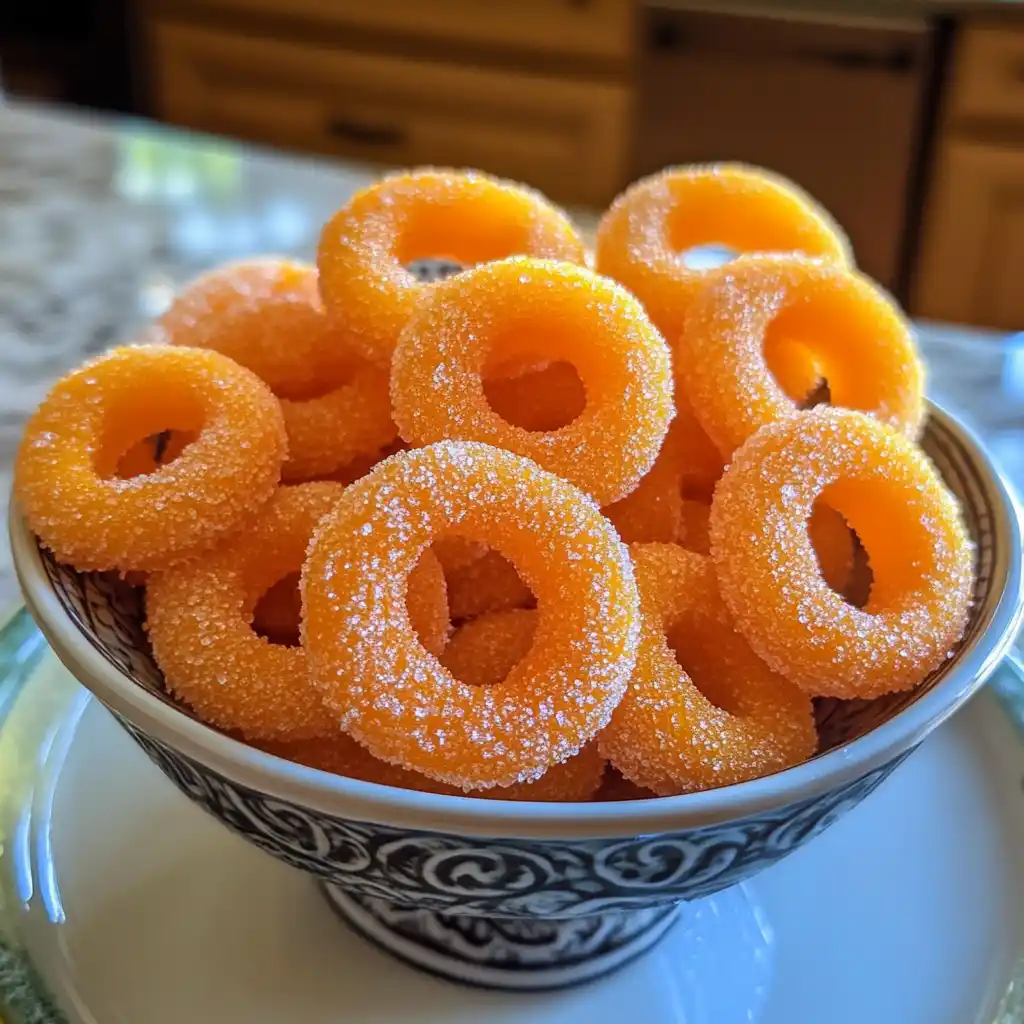
I love how they fill the kitchen with the warm, sunny scent of oranges and sugar as they simmer — it smells like pure comfort. They look beautiful too, shimmering on a wire rack or dipped halfway in chocolate. You can serve them as a snack, a garnish for desserts, or a lovely homemade gift during the holidays.
What’s great is that they use the entire fruit, peel and all — nothing goes to waste. It’s one of those recipes that makes you feel connected to the old-fashioned art of candy-making, but it’s easy enough for anyone to do at home.
Ingredients You’ll Need for Perfect Candied Orange Rings
To make these candied rings, you only need a few simple ingredients — but the quality matters. Choose fresh, bright oranges with firm skin and no blemishes.
Ingredients:
- 2 large oranges (washed well)
- 1 ½ cups (300 g) sugar
- 1 cup (240 ml) water
- Optional: extra sugar for coating or melted chocolate for dipping
That’s it — just sugar, water, and fruit. Yet when they come together slowly on the stove, they transform into something truly special.
Preparing the Oranges for Candying
The first step is washing the oranges really well, since you’ll be keeping the peel on. I like to use warm water and gently scrub them to remove any wax or residue. Then slice the oranges into thin, even rings — about ¼ inch thick.
Try to keep the slices uniform so they cook evenly. You can remove any seeds as you go, but be gentle so the rings stay intact. Each slice should look like a little sunburst.
Simmering the Oranges in Sugar Syrup
In a large, wide pan, combine the sugar and water. Heat over medium until the sugar dissolves completely, stirring occasionally. Once you have a clear syrup, reduce the heat to low and add the orange slices in a single layer.
This step is where the magic happens. Let them simmer gently for 30 to 40 minutes, turning them occasionally so both sides absorb the syrup evenly. You’ll notice the slices becoming translucent — that’s the sign they’re perfectly candied.
The smell at this point is heavenly — a mix of caramelized sugar and citrus oils that fills your whole kitchen.
Be careful not to let the syrup boil too hard or the oranges will lose their shape. Low and slow is key here; it allows the slices to soak up sweetness while keeping their texture.
Drying the Orange Rings for the Ideal Texture
Once the slices look glossy and tender, carefully lift them out with tongs and lay them flat on parchment paper or a wire rack. They’ll be sticky at first, but as they dry, they’ll firm up into that beautiful chewy texture.
You can let them air-dry for several hours or overnight. If you’re in a hurry, place them in a very low oven (about 90°C or 200°F) for 1–2 hours to speed up the process. They should feel tacky but not wet when ready.
Finishing Touches – Sugar-Coated or Chocolate-Dipped
Here’s the fun part — decorating them! Once your orange rings are dry, you can either:
- Roll them in granulated sugar for a sparkly, frosted look, or
- Dip one half into melted dark or white chocolate for a more elegant finish.
The sugar coating adds a little crunch and extra sweetness, while the chocolate version feels more like a gourmet confection. I love doing a mix of both, especially when I’m giving them as gifts.
If you go the chocolate route, let them set on parchment until the coating hardens completely.
Storing and Serving Your Homemade Orange Rings
Once they’re completely dry and set, store the rings in an airtight container at room temperature. They’ll stay fresh for up to a week — though in my house, they rarely last that long.
You can serve them on a dessert platter, use them as cake decorations, or even add them to a cheese board for a sweet-tart touch. They also make wonderful edible gifts wrapped in cellophane with a ribbon.
And if you’re feeling fancy, try chopping a few into small pieces and stirring them into cookie dough or chocolate bark — the burst of orange flavor is incredible.
Tips for the Best Results
- Use unwaxed oranges if possible, since you’re keeping the peel.
- Keep the syrup gentle — bubbling too fast can make the slices bitter or tough.
- Be patient with drying. The texture improves as they sit.
- Reuse the leftover syrup. Drizzle it over pancakes, yogurt, or even cocktails for a citrusy twist.
Your Orange Ring Questions, Answered
Can I use other citrus fruits?
Yes! This method works beautifully with lemons, limes, or even blood oranges. Just adjust the simmering time for thinner slices.
Why did my orange slices turn bitter?
That can happen if they were boiled too hard or if the pith was too thick. Keep the heat low and choose oranges with thinner skins.
How do I know they’re done simmering?
They should look slightly translucent and soft, but not falling apart. If the edges start to curl slightly, they’re perfect.
Can I dry them in the oven?
Absolutely. A very low oven helps speed up drying without burning. Just keep an eye on them and flip occasionally.
How long do they last?
Stored properly in an airtight container, they’ll last about a week at room temperature or up to two weeks in the fridge.
Homemade Orange Rings are one of those simple pleasures that make you fall in love with slow, hands-on cooking. They’re vibrant, fragrant, and surprisingly easy — proof that a little time and a few ingredients can create something truly special.
