
A Little Chocolate Drama – Why Lava Cookies Are Always a Hit
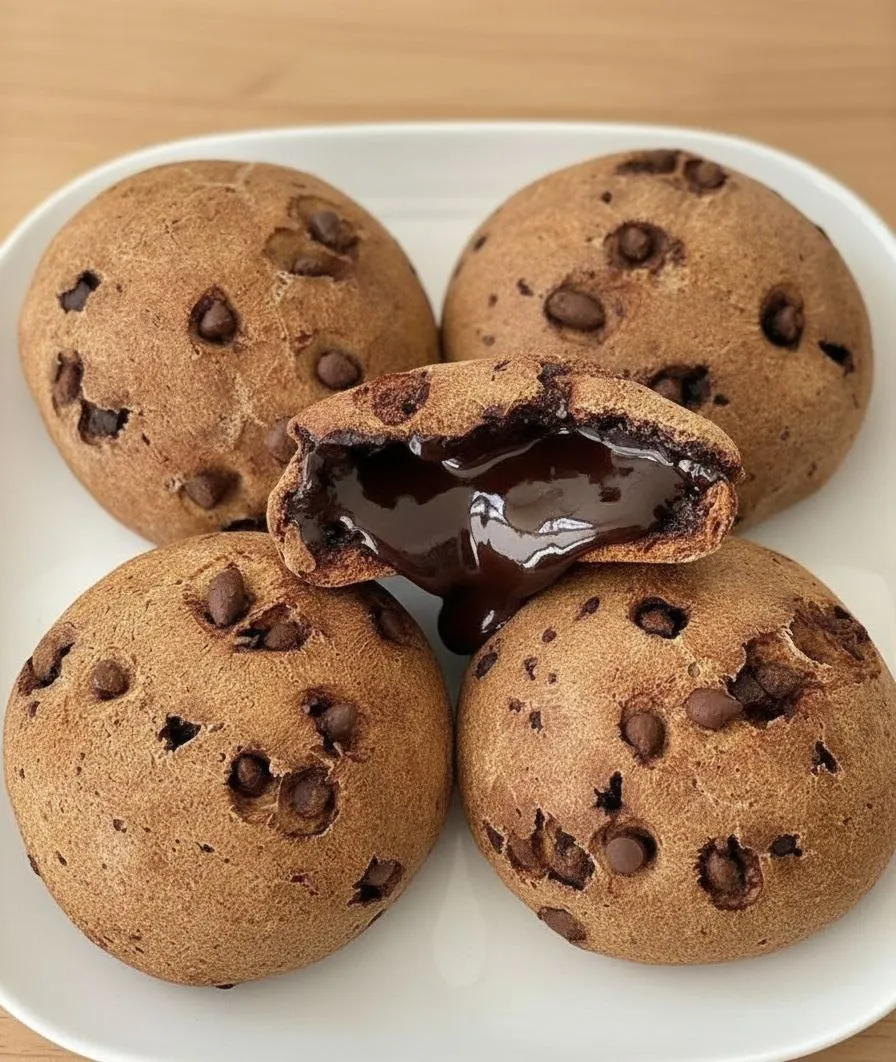
There is something deeply satisfying about a cookie that hides a secret inside. Chocolate lava stuffed cookies are not just cookies—they are an experience. The outside looks like a soft, golden chocolate chip cookie, but the moment you break one open, warm melted chocolate slowly spills out. It’s dramatic in the best way possible.
I remember the first time I made these, I stood over the oven watching through the glass like it was a science experiment. The smell of butter and sugar mixing with melted chocolate filled the kitchen, and I knew instantly these were going to be special. These cookies feel like something you would order in a café, but you can make them with everyday ingredients and no fancy equipment.
What I love most is that they’re comforting and impressive at the same time. You can serve them to guests and they’ll think you spent hours in the kitchen, when really it’s just a clever twist on classic cookie dough. They’re perfect for cold evenings, family movie nights, or anytime chocolate cravings strike hard.
What You’ll Need to Create These Gooey Chocolate-Filled Cookies
This recipe uses simple pantry ingredients, but the quality of your chocolate makes a big difference. Choose chocolate that melts well and tastes good on its own, because it becomes the star of the cookie.
Ingredients:
- 2 cups (250 g) all-purpose flour
- ½ tsp baking soda
- ¼ tsp salt
- ½ cup (115 g) butter, softened
- ½ cup (100 g) sugar
- ½ cup (100 g) brown sugar
- 1 egg
- 1 tsp vanilla
- 2 tbsp milk
- ¾ cup chocolate chips
- 8–10 chocolate squares or thick chocolate spread for filling
The mix of white sugar and brown sugar is important. White sugar helps the cookies spread slightly and gives crisp edges, while brown sugar adds moisture and chewiness. I usually use dark chocolate squares for the center because they melt beautifully and balance the sweetness of the dough.
Getting the Dough Just Right – The Base of a Perfect Lava Cookie
Start by preheating your oven to 180°C (350°F). Line a baking tray with parchment paper so the cookies don’t stick and bake evenly.
In a medium bowl, mix together the flour, baking soda, and salt. This step ensures the baking soda is evenly distributed, which helps the cookies rise properly and bake evenly. Set this bowl aside.
In a larger bowl, cream the softened butter, sugar, and brown sugar together until light and fluffy. You’ll notice the color becoming slightly lighter and the texture smoother. This process traps air in the dough, which gives your cookies a soft, tender bite instead of a dense texture.
Add the egg, vanilla, and milk to the butter mixture. Stir until everything is fully combined and looks creamy and smooth. At this stage, the dough will smell sweet and buttery with a hint of vanilla.
Gradually add the dry ingredients into the wet mixture. Mix gently until a soft dough forms. Avoid overmixing here—too much mixing can make the cookies tough. Fold in the chocolate chips last so they stay evenly distributed throughout the dough.
The dough should be soft but not sticky. If it feels too loose, you can chill it in the fridge for about 15 minutes. I often do this on warm days because it makes shaping much easier.
Filling, Shaping, and Baking – Creating the Gooey Chocolate Center
Now comes the most fun part: stuffing the cookies. Scoop out a portion of dough and flatten it gently in your palm. Place a chocolate square or about one teaspoon of chocolate spread in the center.
Carefully fold the dough around the chocolate, sealing all the edges so the filling is completely hidden. Roll it gently into a smooth ball. Take a moment to inspect each one—any gaps or cracks can cause the chocolate to leak out while baking.
Place the dough balls onto the lined baking tray, leaving space between each cookie because they will spread slightly in the oven.
Bake for 10 to 12 minutes. The cookies should look lightly golden around the edges but still soft in the center. This is the key moment: overbaking will turn them into regular cookies instead of lava cookies.
When you remove them from the oven, they will look slightly underbaked in the middle. That’s exactly what you want. Let them cool on the tray for about five minutes before moving them. The chocolate inside will be extremely hot and molten, so patience is important even though the smell makes it hard to wait.
Tips for Soft Cookies and a Perfect Lava Effect
- Use room-temperature butter so it creams properly with the sugar and creates a soft dough.
- Seal the dough completely around the chocolate to prevent leaks.
- Do not overfill the center; too much chocolate can burst through the sides.
- Bake just until the edges are set and the centers look slightly soft.
- If your dough feels sticky, chill it for 10–15 minutes before shaping.
- Use thicker chocolate spread rather than syrup-style chocolate for better molten texture.
These small details make the difference between a cookie that looks nice and one that creates that dramatic lava moment when broken open.
Serving and Storing Your Chocolate Lava Stuffed Cookies
These cookies are best served warm, when the chocolate center is still melted and gooey. I love serving them with a glass of cold milk or alongside a scoop of vanilla ice cream. The contrast between hot cookie and cold ice cream is unbeatable.
If you have leftovers, let the cookies cool completely and store them in an airtight container at room temperature for up to three days. To bring back the lava center, warm them in the microwave for 10 to 15 seconds. You’ll notice the chocolate soften again and become molten in the middle.
Avoid refrigerating them unless your kitchen is very warm, because cold storage can make the cookies firm and dry.
Creative Ways to Dress Them Up for Desserts and Gifts
Chocolate lava cookies can easily be turned into a plated dessert. Dust them lightly with powdered sugar, drizzle with melted chocolate, or add a few fresh berries on the side for contrast.
For special occasions, you can stack them on a plate and serve them warm with whipped cream or ice cream. They also make wonderful edible gifts. Wrap them in parchment paper and place them in a decorative box with a note that says “Warm before eating for gooey center.”
I’ve given these cookies as gifts before, and people always ask for the recipe. They look impressive but still feel homemade and personal.
Variations to Try – From Peanut Butter Centers to Double Chocolate Dough
Once you master the classic version, you can experiment endlessly. Try filling the cookies with peanut butter cups, caramel squares, hazelnut spread, or white chocolate. Each filling creates a completely different flavor experience.
For a richer cookie, add two tablespoons of cocoa powder to the dry ingredients to create a chocolate cookie dough with a molten chocolate center.
You can also add chopped nuts, like walnuts or hazelnuts, for texture. A pinch of cinnamon or espresso powder enhances the chocolate flavor and adds depth without overpowering it.
Nutrition Snapshot – A Sweet Treat to Enjoy in Moderation
These cookies are rich and satisfying, which means one or two usually feels like enough. They provide energy from carbohydrates and fats and a small amount of protein from the egg and milk.
Because they are homemade, you control the ingredients and portion size, which makes them a more mindful treat compared to store-bought desserts. Think of them as an occasional indulgence rather than an everyday snack.
Sweet Questions Answered – Your Lava Cookie FAQ Corner
Can I freeze the dough?
Yes, you can prepare and stuff the dough balls, then freeze them on a tray before transferring them to a freezer bag. Bake directly from frozen, adding one or two extra minutes to the baking time.
Why did my chocolate leak out?
This usually happens if the dough was not sealed properly or the chocolate was too close to the surface. Make sure the filling is fully wrapped in dough before baking.
Can I use chocolate spread instead of chocolate squares?
Yes, but use a thick spread and only about one teaspoon per cookie. Too much spread can leak out quickly.
How do I keep the centers gooey?
The key is baking just until the edges are set and the middle remains soft. Reheat briefly before serving if needed.
Can I make these cookies ahead of time?
Yes, you can prepare the dough in advance and store it in the fridge for up to 24 hours before baking.
Chocolate lava stuffed cookies are the kind of dessert that feels exciting every single time you make them. Warm, soft, and filled with melted chocolate, they turn an ordinary cookie into something unforgettable. Once you try them, they quickly become one of those recipes you come back to again and again.
