
Why These Fudgy Chocolate Brownies Steal the Show
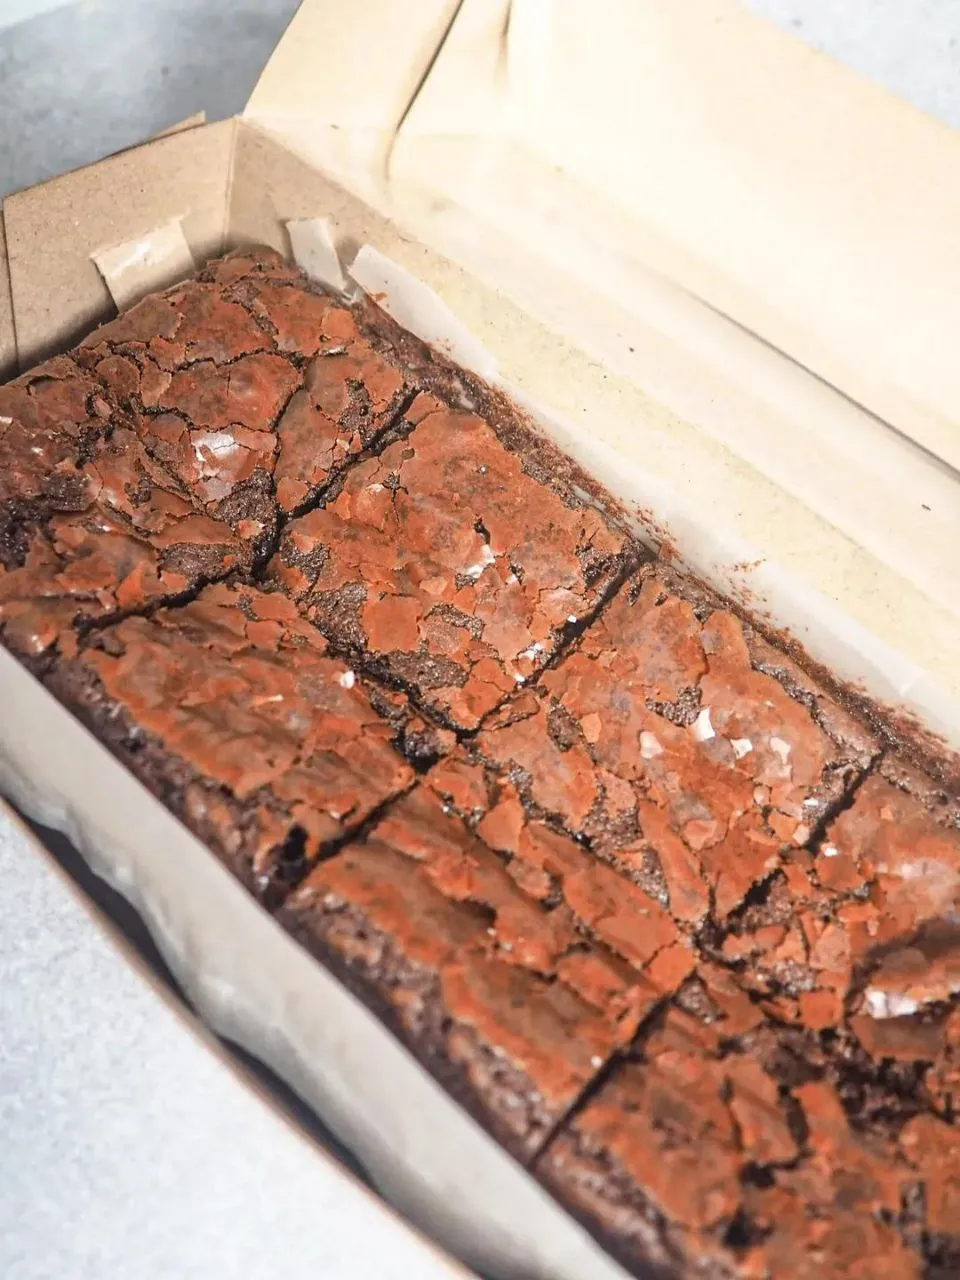
There’s a world of difference between an average brownie and one that’s truly fudgy. These Fudgy Chocolate Brownies are everything you want in a homemade treat — rich, moist, deeply chocolatey, and with that irresistible crackly top that makes you feel like you just pulled them out of a bakery oven.
What I love most about this recipe is its simplicity. You don’t need fancy tools or expensive ingredients — just good-quality dark chocolate, real butter, and a little patience to let them cool before cutting. (That last part might be the hardest.) Every bite melts in your mouth, dense and chewy in the center, with just the right edge of crispness around the sides.
Ingredients You’ll Need for That Rich, Melt-in-Your-Mouth Texture
The secret to incredible brownies is using the best chocolate you can get your hands on. The rest is all about balance — fat, sugar, and just enough flour to hold it all together without turning it cakey.
Ingredients:
- ½ cup butter
- 200 g dark chocolate
- ¾ cup sugar
- 2 eggs
- ½ cup flour
- 2 tablespoons cocoa powder
- 1 teaspoon vanilla extract
- A pinch of salt
Dark chocolate brings intensity, butter adds richness, and the eggs give it that glossy, fudgy structure. Cocoa powder deepens the flavor and enhances the color — it’s the kind of mix that makes your kitchen smell divine.
Melting the Chocolate and Butter – The Heart of Fudginess
Start by melting the butter and dark chocolate together in a heatproof bowl set over simmering water or in short microwave bursts. Stir often until smooth and glossy, then let it cool slightly.
This step is crucial — if your chocolate mixture is too hot when you add the eggs, it can scramble them. I usually wait a few minutes until the bowl feels warm but not hot to the touch. That silky blend of butter and chocolate is what gives these brownies their signature fudgy texture.
Mixing the Batter for the Perfect Crumb
Once the chocolate mixture has cooled a bit, whisk in the sugar until it dissolves slightly. Then add the eggs one at a time, whisking until the batter looks thick and shiny. Stir in the vanilla extract for that comforting aroma that always reminds me of baking as a kid.
Next, add the dry ingredients — flour, cocoa powder, and salt. I always sift them first to avoid lumps and get a smoother batter. Fold gently until everything just comes together.
You’ll notice the batter is quite thick — that’s exactly how it should be. Don’t be tempted to thin it out; that dense texture is what leads to those fudgy centers.
How to Avoid Overmixing and Losing That Gooey Center
The golden rule of brownies: once you add the flour, stop mixing as soon as it’s combined. Overmixing develops the gluten and makes the brownies cakey instead of fudgy. Use a spatula and gentle folding motions rather than a whisk.
If a few streaks of flour remain, that’s fine — they’ll disappear in the oven. I’ve learned that the less you fuss with brownie batter, the better it turns out.
Baking Your Brownies to That Just-Right Doneness
Line a square baking pan with parchment paper and pour in the batter, smoothing the top with a spatula. Bake in a preheated oven at 180°C (350°F) for about 20–25 minutes.
Here’s the trick: don’t overbake them. When you insert a toothpick, it should come out with a few moist crumbs — not clean. The brownies continue to set as they cool, so pulling them out at the right time ensures that perfect, gooey middle.
You’ll know they’re ready when the top forms that shiny, crackled crust and the edges start to pull away slightly from the pan. The smell of melted chocolate and butter at this stage is absolutely heavenly.
Cooling, Glazing, and Slicing Like a Pro
Once baked, let the brownies cool completely in the pan before slicing. This part takes patience, but it’s worth it — cutting too early can make them crumble apart.
If you’re in the mood for something extra decadent, spread a thin layer of melted chocolate or ganache over the top once cooled. Let it set before slicing into neat squares. I like to use a warm knife (just dip it in hot water and wipe it dry) for clean edges.
The first bite always feels like the reward for waiting — dense, rich, and full of that bittersweet chocolate flavor that lingers.
Serving Ideas – From Classic Squares to Decadent Desserts
These brownies are perfect on their own, but they also shine as part of a dessert plate. Serve them warm with a scoop of vanilla ice cream or a drizzle of caramel sauce for an indulgent touch.
They pair beautifully with a cup of coffee, or you can crumble one into yogurt for a breakfast treat (no judgment here). I sometimes cut them into tiny squares and serve them as bite-sized sweets after dinner — they’re always the first thing to disappear.
Pairing Brownies with Ice Cream, Coffee, or Fruit
For a café-style dessert, serve a warm brownie topped with a scoop of vanilla or hazelnut ice cream and a sprinkle of sea salt. The contrast of hot and cold is heavenly.
If you prefer something lighter, try pairing your brownie with fresh raspberries or strawberries — their tartness balances the sweetness perfectly. And of course, a rich espresso or cappuccino makes the ideal companion.
Flavor Twists You’ll Love – Nuts, Swirls, and More
Once you’ve mastered the base recipe, the variations are endless. Stir in chopped walnuts or pecans for crunch, or swirl in a spoonful of peanut butter or cream cheese before baking for an eye-catching pattern.
You can even sprinkle sea salt or espresso powder on top before baking for an elevated, gourmet touch. For festive occasions, add chocolate chunks or caramel bits into the batter — they create little pockets of molten flavor when baked.
Nutrition Snapshot – Indulgent Yet Simple Ingredients
Let’s be honest — brownies are a treat, but that’s exactly what makes them special. Each bite gives you a satisfying mix of fats, carbs, and cocoa antioxidants from dark chocolate. Using real butter and dark chocolate makes these more wholesome than boxed mixes filled with additives.
Portion control is key here — a small square goes a long way in satisfying your sweet tooth. And because they’re homemade, you know exactly what’s in them.
Your Brownie Questions, Expertly Answered
How do I know when my brownies are done?
Look for a shiny, crackled top and slightly firm edges. The center should still be soft but not liquid.
Can I use milk chocolate instead of dark?
You can, but the brownies will be sweeter and less intense. I recommend mixing half dark and half milk for balance.
Why don’t my brownies have that shiny crust?
That crust forms when sugar dissolves properly into the eggs — make sure you whisk thoroughly before adding the flour.
Can I make them gluten-free?
Yes! Substitute all-purpose flour with almond flour or a 1:1 gluten-free blend.
How should I store them?
Keep in an airtight container at room temperature for up to 3 days or refrigerate for a denser texture. They also freeze beautifully — just wrap them tightly and thaw before serving.
Rich, fudgy, and perfectly indulgent — these brownies are proof that simple baking can still feel luxurious. Once you try them warm from the oven, with that glossy top and soft center, you’ll understand why they’re a forever favorite in my kitchen.
