
There’s something surprisingly satisfying about making your own gummies from scratch. The first time I tried these, I didn’t expect much—but once they set, I was hooked. They’re soft, slightly bouncy, and packed with real fruit flavor, not that artificial sweetness you often get from store-bought versions. The spirulina adds a vibrant color and a subtle earthy note that actually works beautifully with the fruit.
What I love most is how customizable they are. You can tweak the sweetness, change the juice, or even play around with shapes. And when you bite into one and get a little piece of candied orange peel? That’s the kind of detail that makes these feel special.
Ingredients
- 2 cups fruit juice (apple + kiwi blended or strained)
- 2 tbsp unflavored gelatin powder
- 1–2 tbsp honey or sugar (optional)
- 1/2 tsp spirulina powder
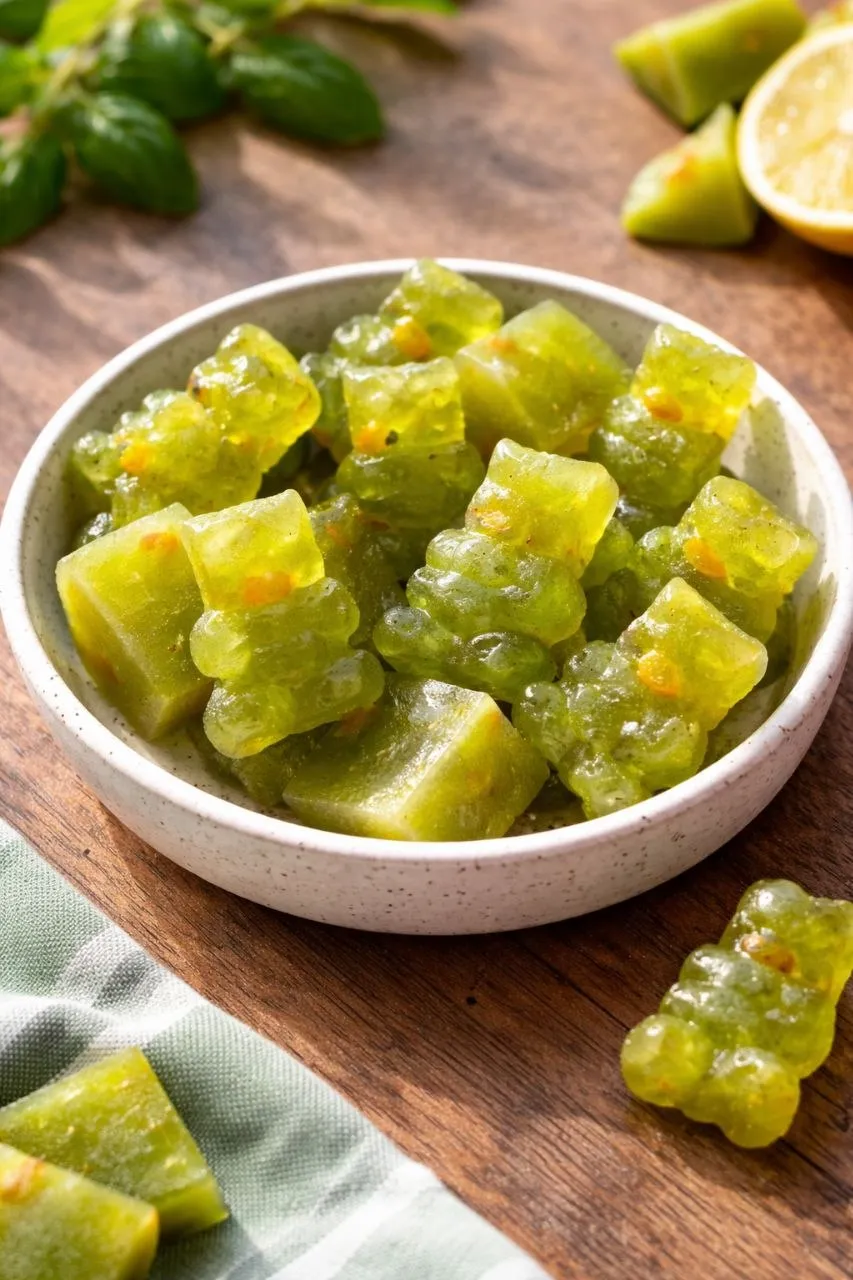
- 2 tbsp finely chopped candied orange peel
How to Make Fruit & Spirulina Gelatin Gummies
Start by gently warming your fruit juice. I usually do this over low heat, just until it’s warm to the touch—not steaming, not bubbling. If it gets too hot, the gelatin won’t behave the way you want, so it’s worth keeping an eye on it.
Once the juice is warm, sprinkle the gelatin evenly over the surface. Don’t dump it all in one spot—I’ve made that mistake before and ended up with clumps. Let it sit for about 2 to 3 minutes. This step, called blooming, helps the gelatin hydrate properly.
After that, stir slowly until everything dissolves. You’ll notice the texture change slightly—it becomes smoother and a bit thicker. If you still see tiny grains, keep stirring gently over low heat.
If your fruit juice isn’t very sweet, this is the moment to add honey or sugar. I usually taste the mixture before deciding. Some fruits, like apple, are already sweet enough, while kiwi can be a bit tart.
Next comes the spirulina. Add it gradually and stir well. It can clump if you rush, so I like to sprinkle a little, mix, then add more. The color shift is immediate—a deep green that looks almost too pretty to eat.
Fold in the finely chopped candied orange peel. This part always makes me smile because it adds tiny bursts of sweetness and a slightly chewy texture that contrasts nicely with the soft gummies.
Pour the mixture into molds or a small dish. If you’re using a dish, you can cut them later into cubes or strips. I’ve even used a simple glass container and it worked perfectly.
Place everything in the refrigerator and let it set for about 2 to 3 hours. Try not to poke them too early—I’ve done that, and it just leaves fingerprints in half-set gummies.
Once fully set, remove them from the molds or cut into shapes. The texture should be firm but still soft when you press them.
Tips for the Best Homemade Gummies
If you want a clearer, more polished look, strain your juice before heating it. This removes pulp and gives you that clean, jelly-like finish.
Taste as you go. Fruit sweetness can vary a lot, so adjusting the honey or sugar makes a big difference.
Be patient with the spirulina. It blends best when added slowly, and rushing can leave little dark specks.
Storage and Serving
Keep these gummies in an airtight container in the fridge. They stay fresh for up to 5 days, though in my experience, they rarely last that long. The texture stays pleasantly soft, not rubbery.
I like serving them chilled, especially on warm days. They feel refreshing and light, almost like a cross between candy and a fruit snack.
If you’re sharing them, cutting them into small, neat shapes makes them look extra inviting. But honestly, even rough cubes taste just as good.
These gummies are one of those small kitchen projects that feel rewarding without being complicated. Once you make them, you’ll probably start thinking of all the variations you can try next.
