
A Taste of Tradition – Why Homemade Mozzarella Is Worth It
There’s something incredibly satisfying about making your own cheese from scratch. The process may sound complicated at first, but once you get started, it’s like a little kitchen magic unfolding before your eyes. Watching milk transform into soft, stretchy mozzarella never gets old. I still remember the first time I tried it—the aroma of warm milk, the gentle stretch of the curd, and the thrill of forming that first smooth ball of cheese.
Homemade mozzarella isn’t just fresher than store-bought; it has a rich, milky flavor and a soft, melt-in-your-mouth texture that’s hard to beat. Whether you melt it on a pizza, slice it for a caprese salad, or eat it warm with a sprinkle of salt, it’s pure comfort food.
What You’ll Need to Make Fresh Mozzarella
This recipe uses just a handful of ingredients, but quality is key. Choose milk that’s not ultra-pasteurized—it won’t curdle properly otherwise.
Ingredients:
- 1 gallon of low-fat or whole milk (not ultra-pasteurized)
- 1¼ teaspoons citric acid dissolved in 1 cup cool water
- ¼ teaspoon liquid rennet (or ¼ rennet tablet) dissolved in ¼ cup cool water
- 1 teaspoon salt
That’s all you need—four simple ingredients that transform into something magical.
Preparing the Milk and Setting the Stage
Start by pouring the milk into a large stainless-steel pot. Stir in the dissolved citric acid evenly; this helps the milk acidify properly so it can form curds later. Slowly heat the milk over medium heat to 90°F (32°C), stirring occasionally to prevent scorching.
As the milk warms, you’ll notice it thickening slightly and taking on a creamy aroma. That’s a good sign—it’s preparing to curdle. Once it reaches the right temperature, remove it from the heat and gently stir in the diluted rennet using an up-and-down motion. This step starts the curd formation process. Cover the pot and let it sit undisturbed for 5 to 10 minutes. When you uncover it, you should see that the milk has set into a soft, custard-like curd that pulls away slightly from the edges of the pot.
Cutting and Cooking the Curds – The Transformation Begins
Now it’s time to cut the curds. Using a long knife, slice the curd into 1-inch cubes. Try to make clean, even cuts from top to bottom. Let the cubes rest for 5 minutes so the whey (the liquid part) begins to separate.
Return the pot to low heat and gently bring the temperature to 105°F (40°C), stirring slowly with a slotted spoon to prevent the curds from clumping. As they warm, they’ll start to firm up and shrink a little. The whey should turn yellowish and clear—that means your curds are developing nicely.
Draining and Preparing the Curds
Once the curds have firmed, use a slotted spoon to transfer them into a colander lined with cheesecloth (if you have it). Let the whey drain off naturally for a few minutes. You can reserve the whey if you like—it’s great for baking or as a soup base.
At this stage, the curds will look soft and lumpy. That’s exactly what you want before moving on to the stretching step.
Stretching and Shaping – The Fun Part
Here’s where the magic happens. Heat the curds either in the microwave for about 30 seconds or by dipping them into hot (not boiling) water until they’re warm and pliable. Add a teaspoon of salt for flavor.
Now, knead and stretch the curds gently, almost like working with dough. You’ll feel the texture change beneath your hands—from crumbly to smooth and elastic. When it stretches easily without tearing, it’s ready.
Form the mozzarella into a round ball or divide it into smaller logs. The cheese should look glossy and feel soft to the touch. Place it in a bowl of cold water for about 5 minutes to help it firm up and hold its shape.
Tips for Perfect Mozzarella Every Time
- Use fresh milk. The fresher the milk, the better the texture. Avoid ultra-pasteurized or UHT milk—it won’t form proper curds.
- Watch the temperature. Too hot or too cold, and the curds won’t develop correctly. Use a thermometer for accuracy.
- Handle the curds gently. Stir softly and avoid breaking them too much to keep the texture tender.
- Add salt gradually. You can always add more while kneading for extra flavor.
I’ve made this recipe dozens of times, and every batch turns out a little differently—that’s part of the charm.
Serving and Storing Your Homemade Mozzarella
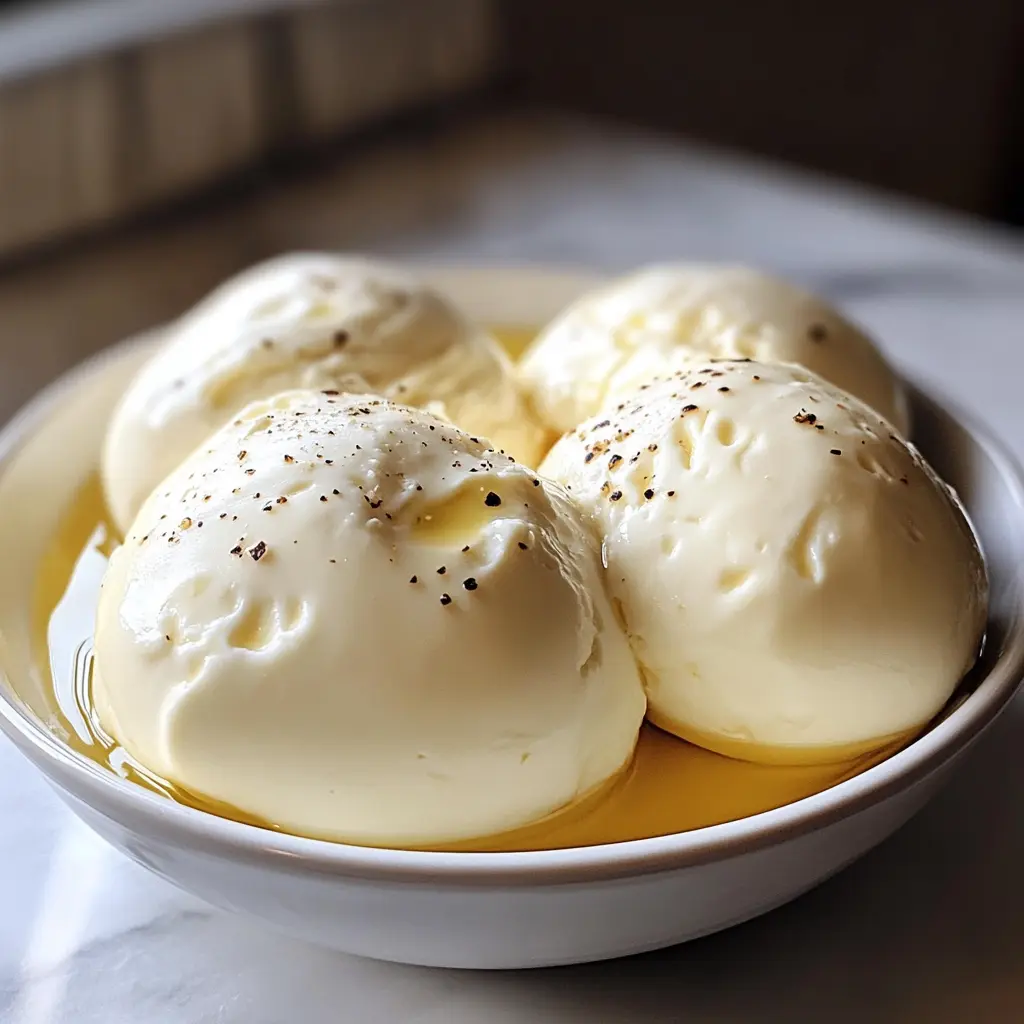
You can enjoy mozzarella warm right after making it—it’s buttery and melt-in-your-mouth soft. Try it torn over freshly sliced tomatoes with olive oil and basil, or melt it onto a homemade pizza.
If you want to store it, place the cheese in a bowl with lightly salted water, cover it, and refrigerate. It will stay fresh for up to a week. You can also wrap it in plastic wrap and refrigerate it without the brine if you prefer a drier texture.
Creative Ways to Use Fresh Mozzarella
Homemade mozzarella is incredibly versatile. Use it in lasagna, grilled cheese, or stuffed into garlic bread. It also pairs beautifully with roasted vegetables or sliced fruit like melon and prosciutto.
One of my favorite ways to enjoy it is simply with a drizzle of good olive oil and a sprinkle of flaky salt—it doesn’t get more authentic or satisfying than that.
Variations and Flavor Additions
If you like experimenting, you can add different flavors while kneading the cheese. Try stirring in chopped herbs like basil or thyme, a touch of crushed red pepper, or even garlic powder for a savory kick. For a richer version, use whole milk instead of low-fat—it creates a creamier, more luxurious texture.
Nutrition Snapshot – Simple and Wholesome
Homemade mozzarella is high in protein and calcium, making it a satisfying snack or meal addition. Compared to store-bought cheese, it has no preservatives or unnecessary additives, and you control the salt content. Each bite tastes fresh, natural, and wholesome.
Cheese-Making Questions Answered – Your Mozzarella FAQ Corner
Can I use raw milk?
Yes, raw milk works beautifully as long as it’s fresh and handled safely. It often gives the cheese a richer flavor.
My curds didn’t form—what went wrong?
This usually happens if the milk was ultra-pasteurized or if the temperature wasn’t right when adding the rennet. Try adjusting next time and use fresh milk.
How do I make it stretchier?
Stretching depends on heating the curds enough. If they break instead of stretching, reheat briefly until pliable.
Can I freeze mozzarella?
You can, but it may lose some of its soft texture when thawed. It’s best eaten fresh within a few days.
What can I do with leftover whey?
Don’t toss it! Whey adds flavor and protein to bread, soups, and smoothies.
Making homemade mozzarella is one of those kitchen projects that feels both old-world and creative. Every time you pull that first stretch of glossy, warm cheese, you’ll understand why it’s been a beloved tradition for centuries—and why once you make it yourself, store-bought will never taste quite the same.
