
A Pop of Sweet Nostalgia – The Story Behind Homemade Bubble Gum
There’s something wonderfully childlike about bubble gum—the color, the stretch, the first satisfying “pop.” Making it at home feels like stepping back in time to a simpler era when treats were crafted by hand and shared with friends. I remember the first time I made homemade bubble gum—it wasn’t perfect, but it smelled incredible, and the sticky fun of kneading it brought out my inner kid again.
Homemade bubble gum has a charm that store-bought just can’t match. You control the flavor, the color, and the texture, and you can even experiment with fun twists like minty green, fruity purple, or classic pink. Once you master the basic process, the possibilities are endless.
What You’ll Need to Make This Chewy Candy Classic
The ingredient list for homemade bubble gum is short, but each one has a specific purpose. Corn syrup adds chewiness, sugar provides sweetness, glycerin adds softness, and flavored oil brings that signature gum taste.
Ingredients:
- 1 cup light corn syrup
- 1 cup granulated sugar
- 1 tablespoon water
- 2 teaspoons flavored oil (like peppermint or bubblegum)
- 1 tablespoon food coloring (pink or any shade you love)
- 1 teaspoon glycerin
Gather these before you start—timing matters once the mixture reaches the right temperature.
Mixing the Base – Building the Foundation for Chewy Perfection
Start by combining the corn syrup, sugar, and water in a medium saucepan. Use a sturdy spoon or heatproof spatula and stir constantly over medium heat until the sugar dissolves completely. The mixture will go from cloudy to clear as the sugar melts.
This part requires patience. If you rush or use too much heat, the sugar can crystallize, leaving the texture grainy. Keep an eye on it—steady heat makes for smooth candy.
Heating to the Perfect Stage – When Science Meets Sweetness
Once the sugar dissolves, stop stirring and bring the mixture to a boil. Clip a candy thermometer to the side of your saucepan without letting the tip touch the bottom. Let it cook until it reaches 300°F (149°C)—the hard crack stage. This is the moment that transforms a simple syrup into candy.
You’ll notice the bubbles become smaller and the mixture thickens slightly. Don’t be tempted to stir, as that can cause crystallization. As soon as it hits 300°F, remove it from the heat immediately. Timing here is everything—just a few degrees too high, and it can burn quickly.
Adding Flavor, Color, and That Classic Chew
Now comes the fun part. Working quickly, stir in your flavored oil, food coloring, and glycerin. Be careful—the mixture is very hot and can splatter. The aroma will hit you instantly: sweet, nostalgic, and irresistible. Whether you choose a fruity bubblegum essence or cool peppermint, this step sets the tone for your final candy.
Mix until everything is evenly blended, then pour the hot mixture onto a lightly greased baking sheet. Let it sit until it cools enough to handle—about 10 to 15 minutes.
Kneading the Gum – Where Texture Comes to Life
Once cool but still pliable, start kneading the gum like bread dough. This is where it transforms from sticky syrup into smooth, stretchy gum. If it feels too sticky, dust your hands with a little powdered sugar.
It will feel warm at first, then gradually firm up into a soft, pliable mass. This part always reminds me of playing with taffy as a kid—stretching, folding, and rolling until it’s just right.
Shaping and Wrapping Your Homemade Gum
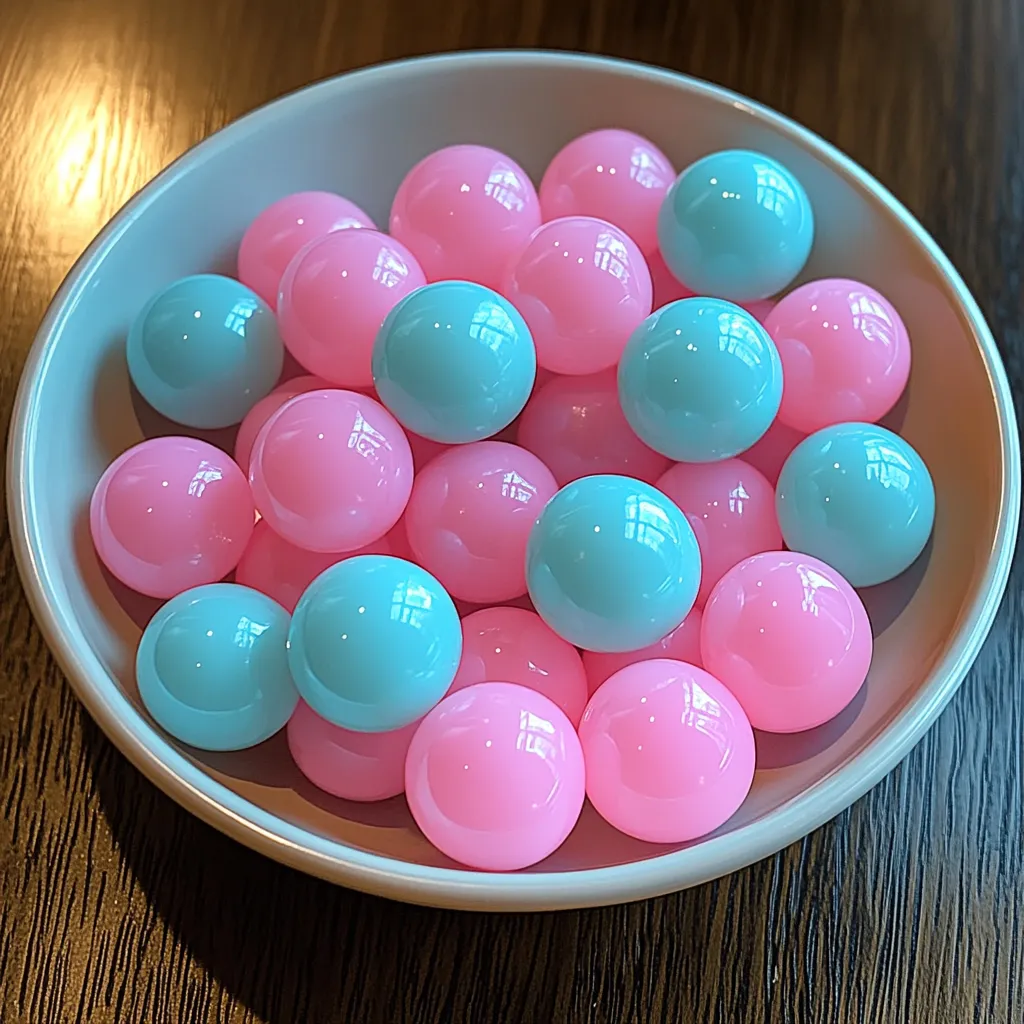
When your bubble gum feels smooth and flexible, it’s time to shape it. You can roll it into small balls, twist it into ropes, or cut it into classic sticks. There’s no wrong way—just go with what feels fun.
To store it, wrap each piece individually in wax paper or plastic wrap. This keeps them from sticking together and helps lock in that signature chewiness. Keep them in an airtight container at room temperature, and they’ll stay fresh for several weeks.
Flavor Experiments – Make It Uniquely Yours
Once you’ve mastered the base recipe, it’s fun to play around. Try adding a drop of vanilla for warmth, or mix two flavored oils for something unexpected—like strawberry-mint or cotton candy-lemon. For color, swirl two tones together for a marbled look or keep it pastel for that retro candy-shop vibe.
Storing and Sharing Your Bubble Gum Creations
Homemade bubble gum makes a delightful gift for birthdays, parties, or nostalgic treat boxes. Store your wrapped pieces in a tin or glass jar—it looks adorable and keeps them chewy. Avoid moisture and heat; those are the enemies of perfect bubble gum texture.
Nutrition Snapshot – Sweet Indulgence in Moderation
Let’s be honest—bubble gum isn’t exactly a health food, but it’s a small joy worth savoring. A piece or two won’t hurt, and you know exactly what’s in it since you made it yourself. No preservatives, no mystery additives—just sugar, flavor, and a bit of kitchen fun.
Bubble Gum Basics – Your Questions Answered
Can I use honey instead of corn syrup?
No, honey behaves differently in candy recipes and will change the texture. Stick with light corn syrup for that stretchy chew.
Why did my gum turn grainy?
This happens if the sugar crystallized during cooking. Be sure not to stir once the mixture starts boiling.
Can I use gel food coloring?
Yes, but mix it in quickly and sparingly—a little goes a long way.
Is glycerin necessary?
Yes, it helps keep the gum soft and pliable. Without it, the texture can turn brittle.
How long does homemade bubble gum last?
When stored properly in a cool, dry place, it lasts up to a month—and honestly, it usually disappears much sooner.
Making homemade bubble gum is more than a recipe—it’s a playful experience that captures the joy of childhood in a single chewy bite. Once you try it, you’ll never look at store-bought gum the same way again.
