
There’s something incredibly satisfying about baking your own bread, and homemade pita is one of those recipes that feels almost magical. Watching each round puff up in the oven never gets old. I still catch myself peeking through the oven door every time, waiting for that moment when they balloon into perfect little pockets.
The smell alone is worth it—warm flour, a hint of olive oil, and that comforting bakery aroma filling your kitchen. Once you try these fresh, soft pitas, it’s hard to go back to store-bought. They’re tender, slightly chewy, and perfect for stuffing, dipping, or just tearing apart while still warm.
Why This Homemade Pita Bread Recipe Works So Well
What makes this recipe special is the addition of Greek yogurt. It gives the dough a soft, slightly tangy flavor and helps create a tender texture that stays fresh longer. Combined with olive oil and proper kneading, the result is a dough that’s easy to work with and consistently reliable.
I love how forgiving this recipe is too. Even if your shapes aren’t perfectly round, they still puff beautifully and taste amazing.
Ingredients You’ll Need
- 1 cup warm water
- 1 package active dry yeast
- 2 teaspoons sugar
- 3 cups bread flour
- 1 teaspoon sea salt
- 3 tablespoons extra-virgin olive oil
- ½ cup whole-milk Greek yogurt
Step-by-Step Baking Instructions
Activate the yeast
In a bowl, combine the warm water, yeast, and sugar. Give it a gentle stir and let it sit for about 5 to 10 minutes. You’re looking for a frothy, bubbly surface. If nothing happens, your yeast might be inactive, and it’s best to start again.
Mix the dough
In a large bowl, combine the flour and salt. Pour in the yeast mixture, olive oil, and Greek yogurt. Stir everything together until a soft dough forms. It might look a little shaggy at first, but that’s completely normal.
Knead until smooth
Transfer the dough to a lightly floured surface and knead for about 8 to 10 minutes. The dough should become smooth, elastic, and slightly tacky but not sticky. I usually press it with my fingers—if it springs back slowly, it’s ready.
Let it rise
Shape the dough into a ball and place it in a lightly greased bowl. Cover it with a clean towel and let it rise in a warm spot until doubled in size, about 1 to 1.5 hours. This is where patience pays off. The dough should feel airy and soft when ready.
Preheat your oven
While the dough is rising, preheat your oven to a high temperature, around 220–250°C. Place a baking sheet or pizza stone inside so it gets really hot. That heat is what helps the pita puff up.
Shape the pitas
Punch down the dough gently to release air. Divide it into 8 equal pieces and roll each into a ball. Let them rest for a few minutes, then flatten each one into a circle about ¼ inch thick. They don’t need to be perfect—rustic is part of the charm.
Bake until puffed
Place the dough circles onto the hot baking surface. Bake for about 3 to 5 minutes, watching closely. They should puff up dramatically and turn lightly golden. This is my favorite part—it feels like the dough comes to life.
Keep them warm
Remove the pitas and immediately wrap them in a clean kitchen towel. This keeps them soft and prevents them from drying out. Let them cool slightly before serving.
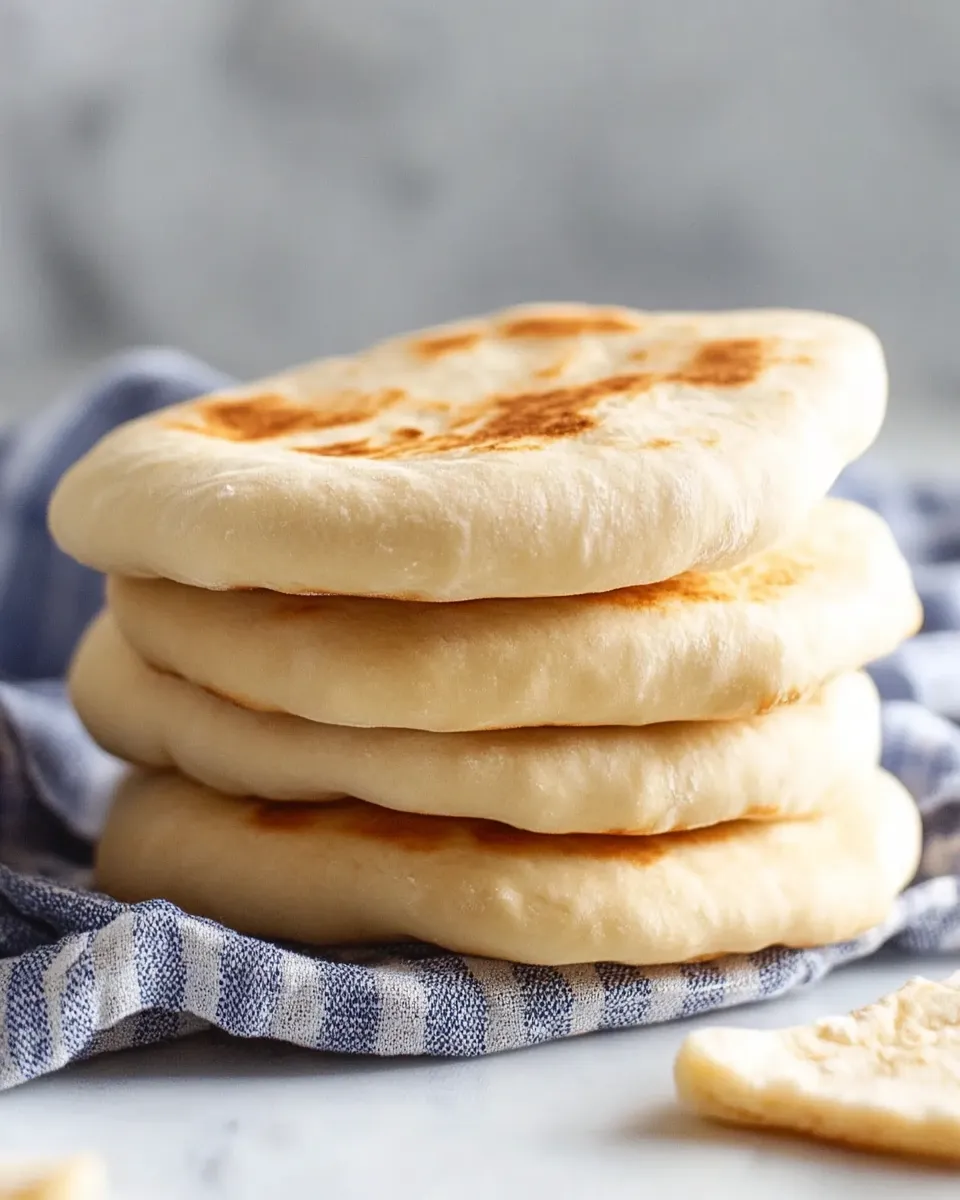
Texture, Flavor, and Aroma Notes
Fresh pita bread has a soft, pillowy texture with a slight chew. The inside forms a perfect pocket, while the outside stays lightly golden and tender. You’ll notice a subtle tang from the yogurt and a rich aroma from the olive oil. Straight out of the oven, they’re almost impossible to resist.
I always end up tearing one open too soon, even though it’s hot, just to see that pocket and taste it fresh.
Helpful Tips for Perfect Pita Every Time
Make sure your water is warm, not hot, or it can kill the yeast.
Knead the dough properly to develop gluten for that signature puff.
Let the oven and baking surface get very hot before baking.
Don’t roll the dough too thin or too thick—¼ inch is ideal.
Keep baked pitas covered so they stay soft and flexible.
Variations You Can Try
You can switch things up easily with this dough. Add a little whole wheat flour for a nuttier flavor, or sprinkle sesame seeds on top before baking. You can also cook the pitas in a hot skillet instead of the oven for a slightly different texture.
For a herby twist, mix dried oregano or za’atar into the dough. It adds a lovely aroma and pairs beautifully with dips and spreads.
Serving and Storage
Serve these pitas warm with hummus, grilled meats, or fresh salads. They’re perfect for wraps, sandwiches, or simply dipping into olive oil.
Store leftovers in an airtight bag at room temperature for up to two days, or freeze them for longer storage. To reheat, just warm them briefly in the oven or on a pan to bring back their softness.
Nutrition Snapshot
Homemade pita bread offers a good source of carbohydrates for energy, along with some protein from the yogurt and flour. Using quality olive oil adds healthy fats, making this a balanced and wholesome bread option.
Homemade Pita Bread FAQ
Why didn’t my pita puff up?
This usually happens if the oven or baking surface isn’t hot enough, or if the dough wasn’t rolled evenly.
Can I make the dough ahead of time?
Yes, you can let it rise in the fridge overnight. Just bring it to room temperature before shaping.
Can I freeze pita bread?
Absolutely. Let them cool completely, then freeze in a sealed bag. Reheat when needed.
Can I use all-purpose flour instead of bread flour?
Yes, though bread flour gives a slightly chewier texture. All-purpose still works well.
Do I need the yogurt?
The yogurt adds softness and flavor, but you can replace it with a bit more water or milk if needed.
Making homemade pita bread is one of those simple kitchen joys that feels incredibly rewarding. Once you see those puffy pockets and taste them warm, you’ll understand why it’s worth every step.
